Ciao a tutti! L’estate è finalmente arrivata e, se non vi siete persi il nostro ultimo post e ci seguite sui social, avrete visto come abbiamo festeggiato: con il Summer Gift Party organizzato da Antonella di Blog a Cavolo e Lisa di Piccolecose Handmade, a tema picnic in bicicletta, insieme ad un bel gruppo di creative! La coperta da picnic che io e Laura abbiamo realizzato per Lisa è piaciuta molto…quindi abbiamo deciso di pubblicare il tutorial passo per passo per realizzarla, così anche voi potrete usarla durante le vostre scampagnate in bicicletta! E’ un DIY davvero molto semplice, ma di grande effetto…cominciamo!
Hello everyone! Summer is finally here and, if you didn’t miss our last post and follow us on our social network, you have certainly seen how we celebrated: with the Summer Gift Party organized by Antonella from Blog a Cavolo and Lisa from Piccolecose Handmade, along with a bunch of creative girls! The theme was a summer picnic and the blanket that Laura and I made for Lisa had had a lot of success…that’s why we decided to publish the step by step tutorial, so you can use it during your outings by bike too! It’s a very simple but pretty impressive DIY…let’s begin! For the tutorial in English click on “ENGLISH” label.
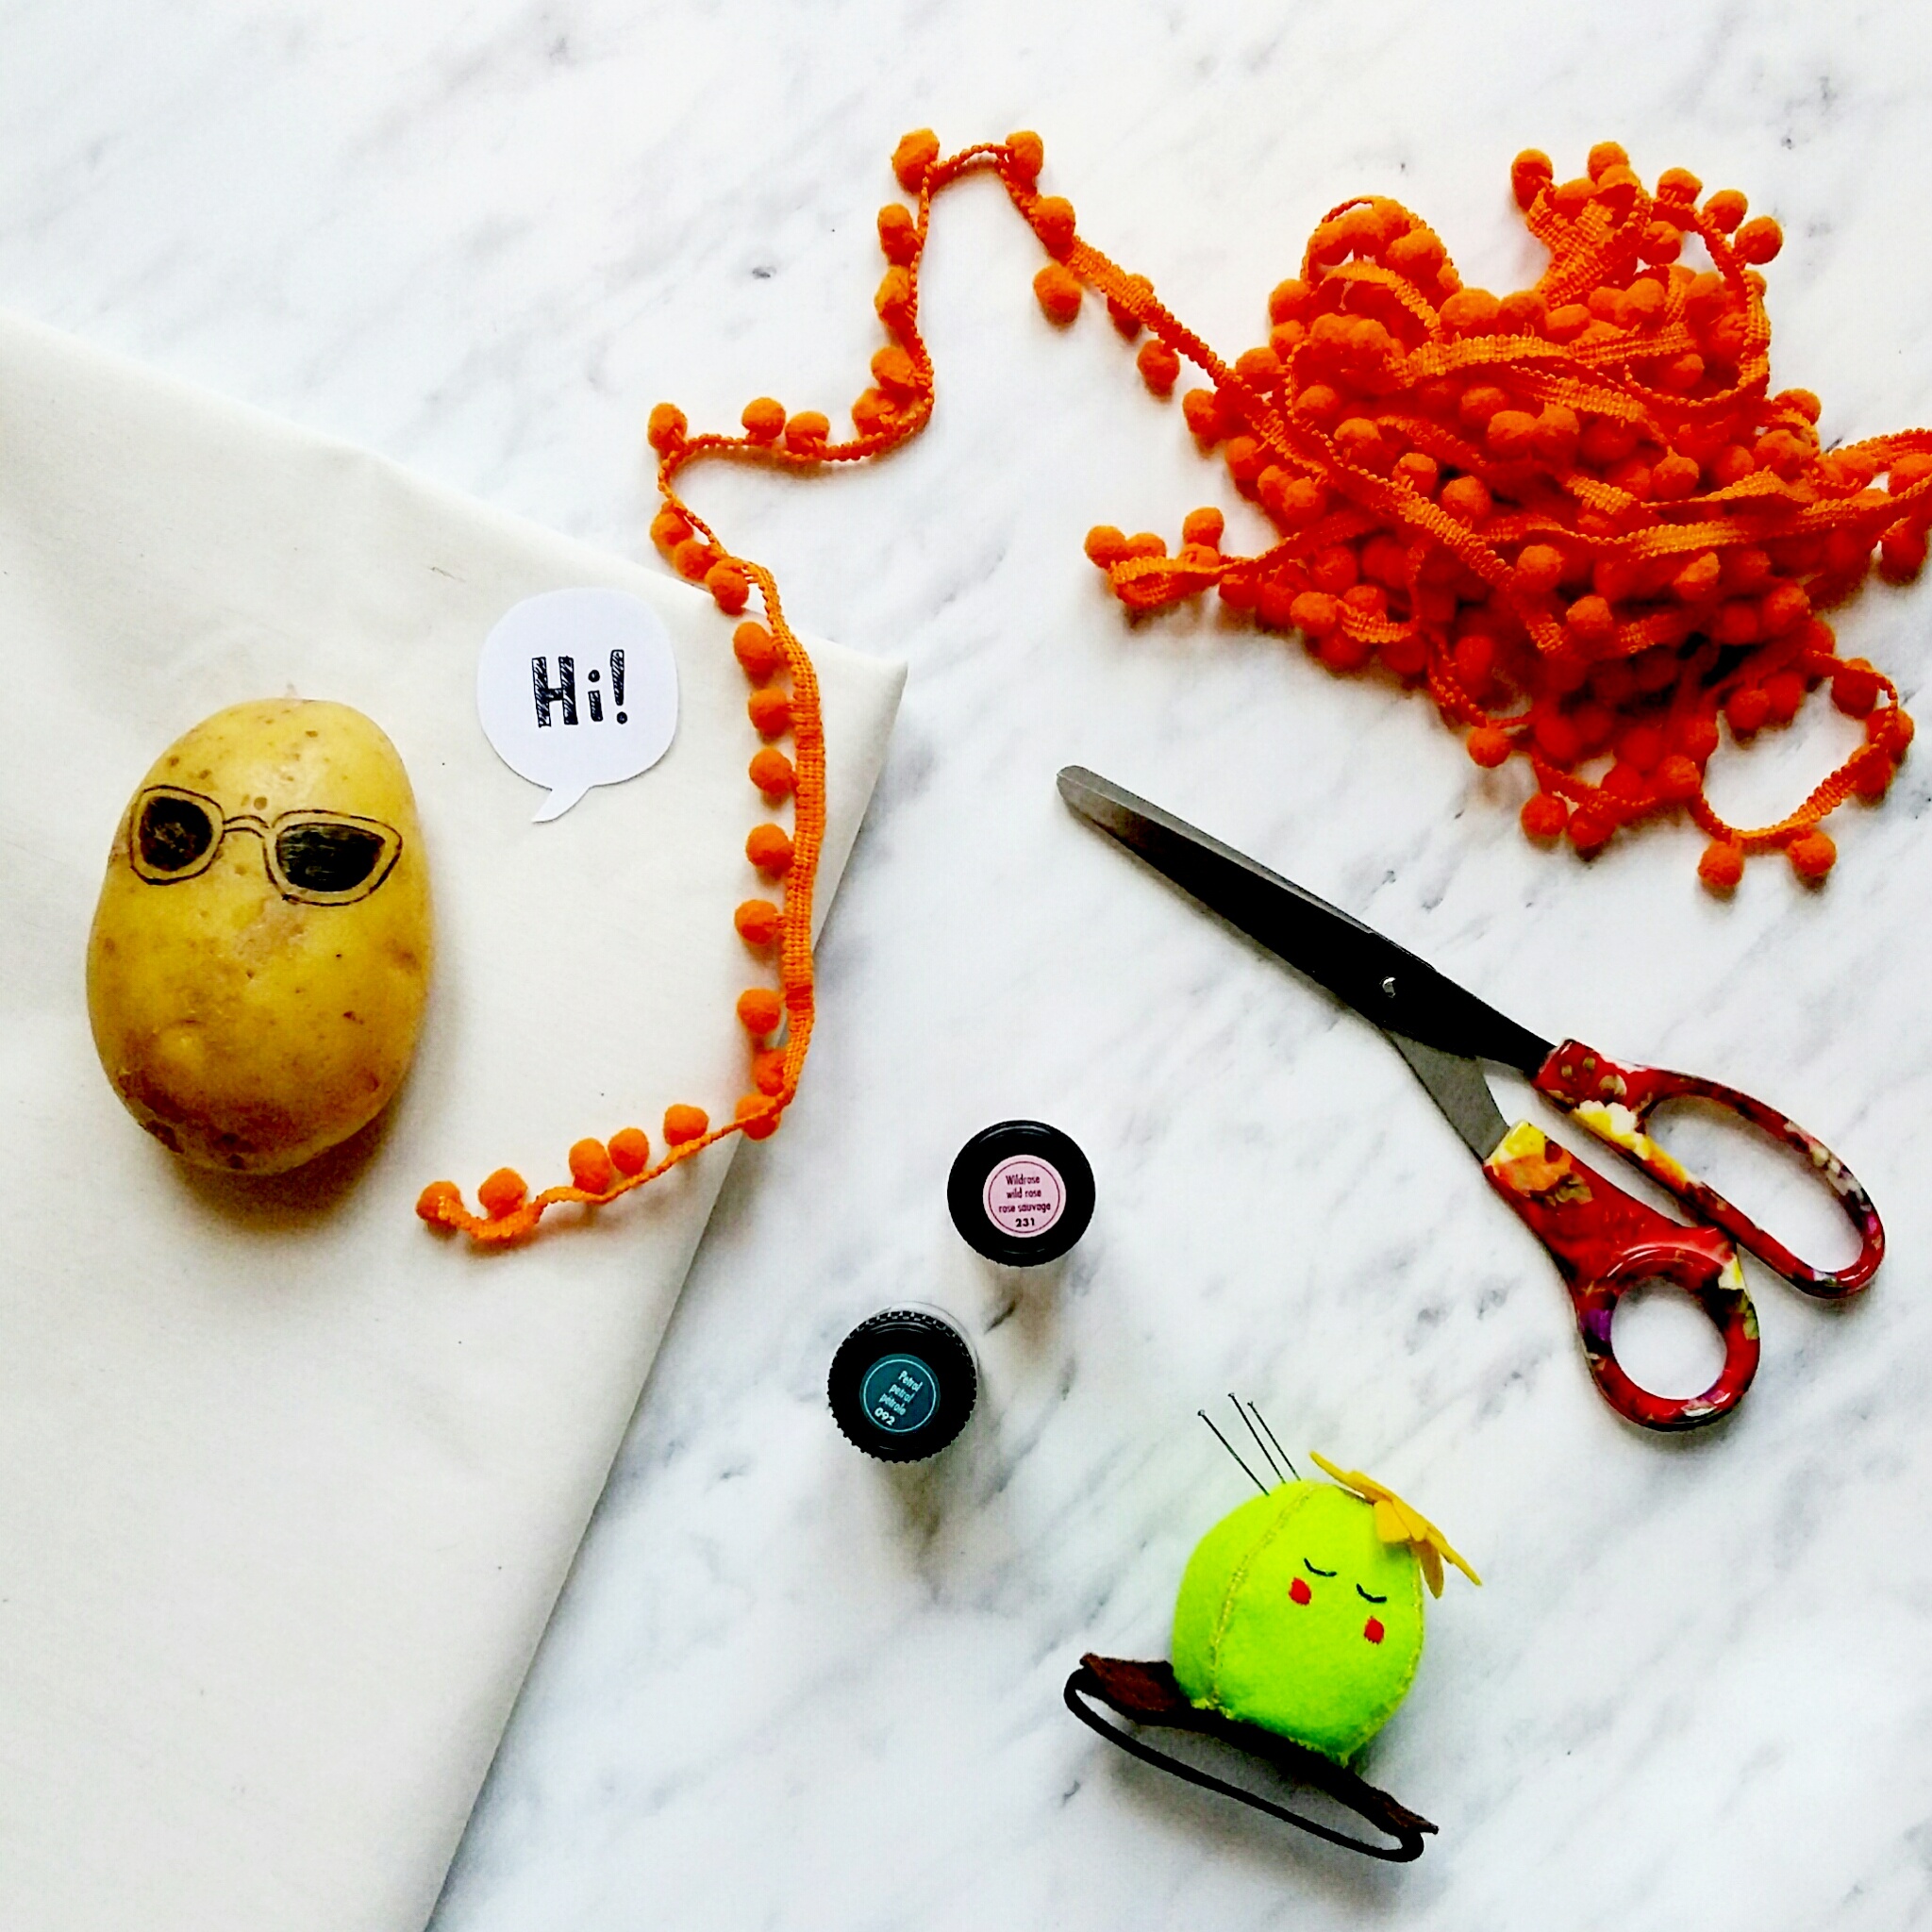
MATERIALI
- tela di cotone (140 x 200 cm circa)
- passamaneria con pallini arancione
- colori per tessuto rosa e blu
- una patata
- forbici
- filo bianco (oppure blu o arancione)
- macchina da cucire
PROCEDIMENTO

FAI L’ORLO
Bagna il tessuto e fallo asciugare. Piega verso l’interno i bordi del tessuto, due volte, di circa 1 cm. Stira l’orlo con il ferro ben caldo (1). Ripeti l’operazione su tutti i lati, poi cuci utilizzando la macchina (2).
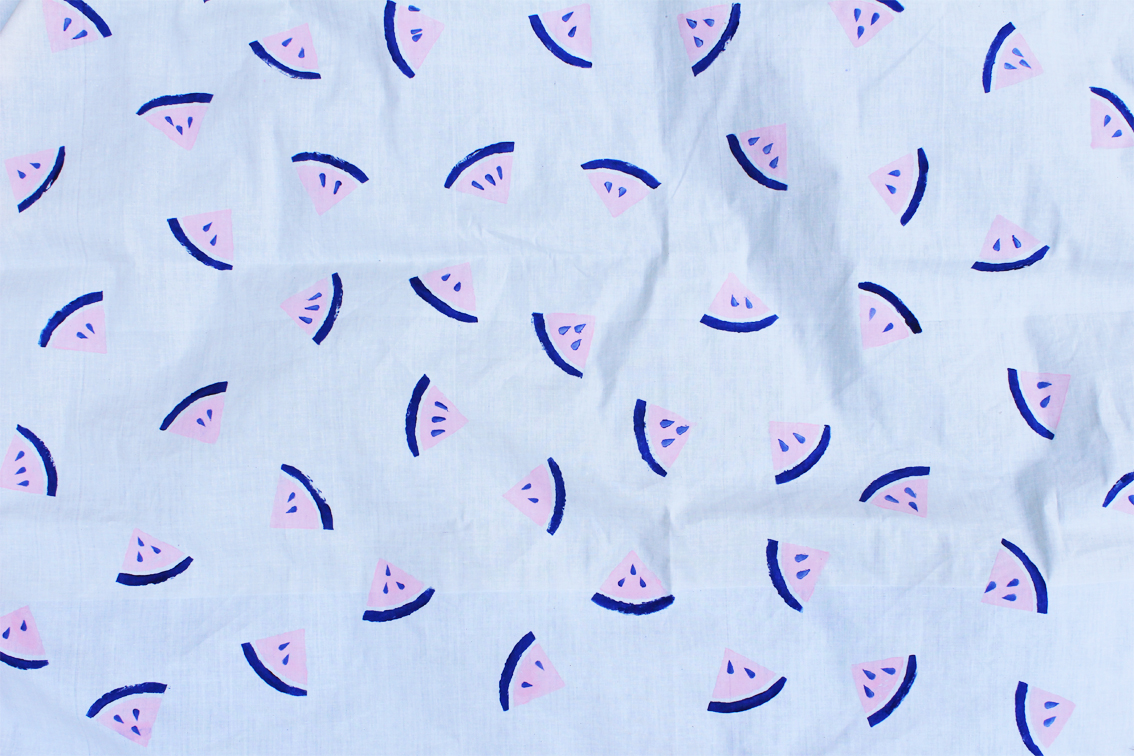
STAMPA IL TESSUTO
Crea lo stampo intagliando una grossa patata: Usa una metà per polpa e buccia e l’altra per i semi (3). Applica il colore per tessuto aiutandoti con un pennello (4), poi stampa le angurie in ordine sparso (5). Stampa prima la polpa con la buccia, fai asciugare e stampa i semi.
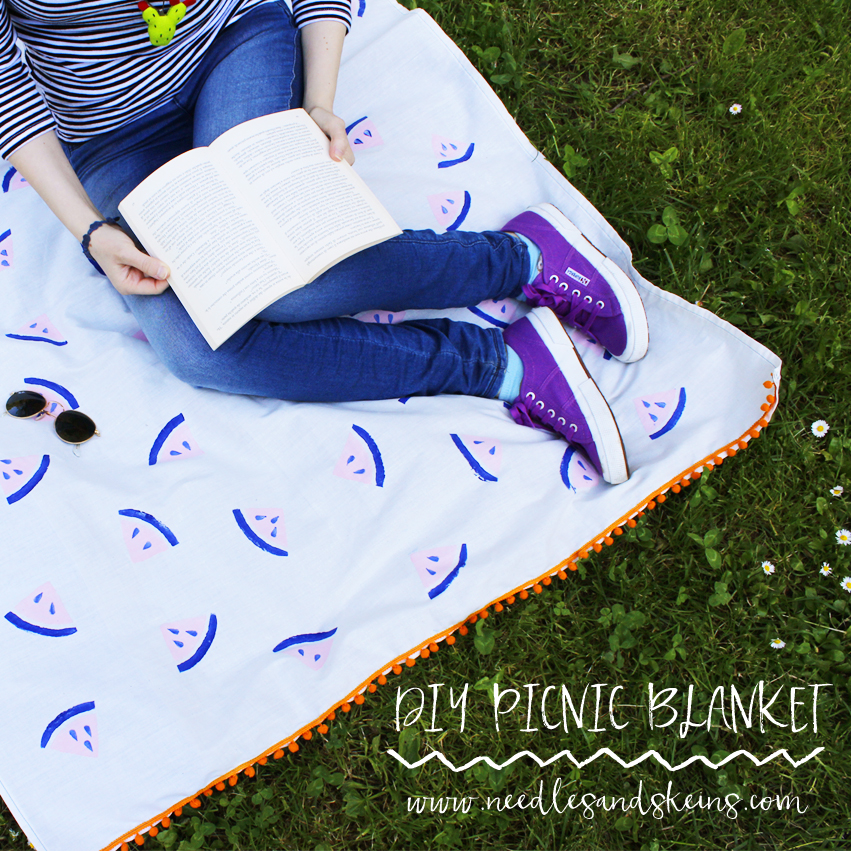
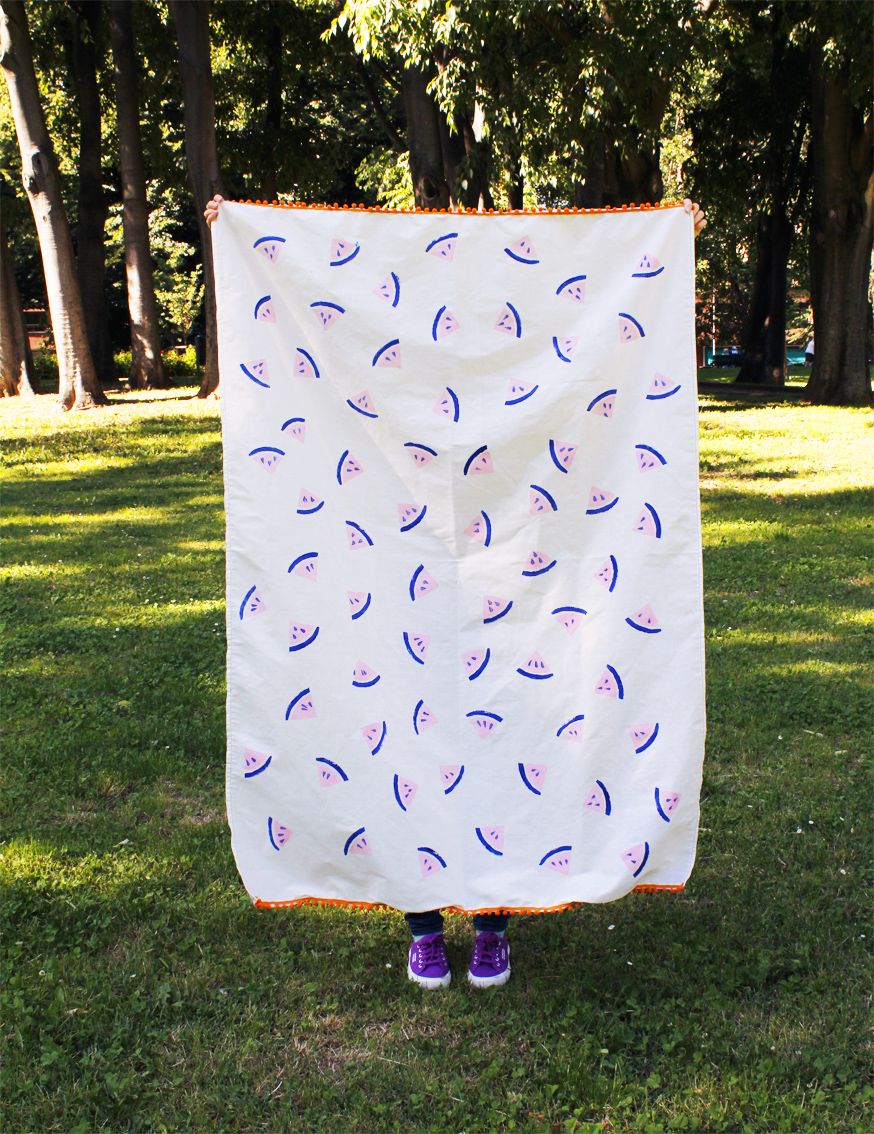
COMPLETA LA COPERTA
Dopo aver fatto asciugare il colore fissalo sul tessuto: copri con un panno e stira con il ferro ben caldo per qualche minuto (segui le istruzioni indicate sulla confezione del colore per tessuto). Infine cuci la passamaneria a pallini, utilizzando la macchina.
MATERIALS
- cotton canvas
- orange little balls trimming
- pink and blue colors for fabric
- a potato
- scissors
- white thread (or blue, or orange)
- sewing machine
TUTORIAL
MAKE THE HEM
Wet the fabric and let it dry. Fold the edges of the fabric inwards, twice, of about 1 cm. Iron the edges with a hot iron (1). Repeat on all sides, then sew the hems using the sewing machine (2).
PRINT THE FABRIC
Create the stamp carving a large potato: use one half for the pulp and peel and the other half for the seeds (3). Apply color to the stamp, helping yourself with a brush (4), then print the watermelons in a casual order. Print the pulp with the peel before, let it dry and then print the seeds (5).
COMPLETE THE BLANKET
After letting the color dry, fix it on the fabric: cover with a cloth and iron with a hot iron for a few minutes (follow the instructions on the color for fabric box). Then sew the trimming, using the sewing machine.
Semplicissimo vero? Realizzate la vostra e portatela con voi durante i vostri picnic estivi, oppure usatela come tovaglia durante le vostre cene all’aperto! E se fate delle foto non dimenticate di condividerle usando l’hashtag #makethingsnotdramas, siamo curiose di vederle!
Easy peasy, right? Make your own blanket and take it with you during your summer picnics, or use it as a tablecloth during your outdoor dining! If you take some pictures don’t forget to share them using the hashtag #makethingsnotdramas, we are so curious to see your creations!