
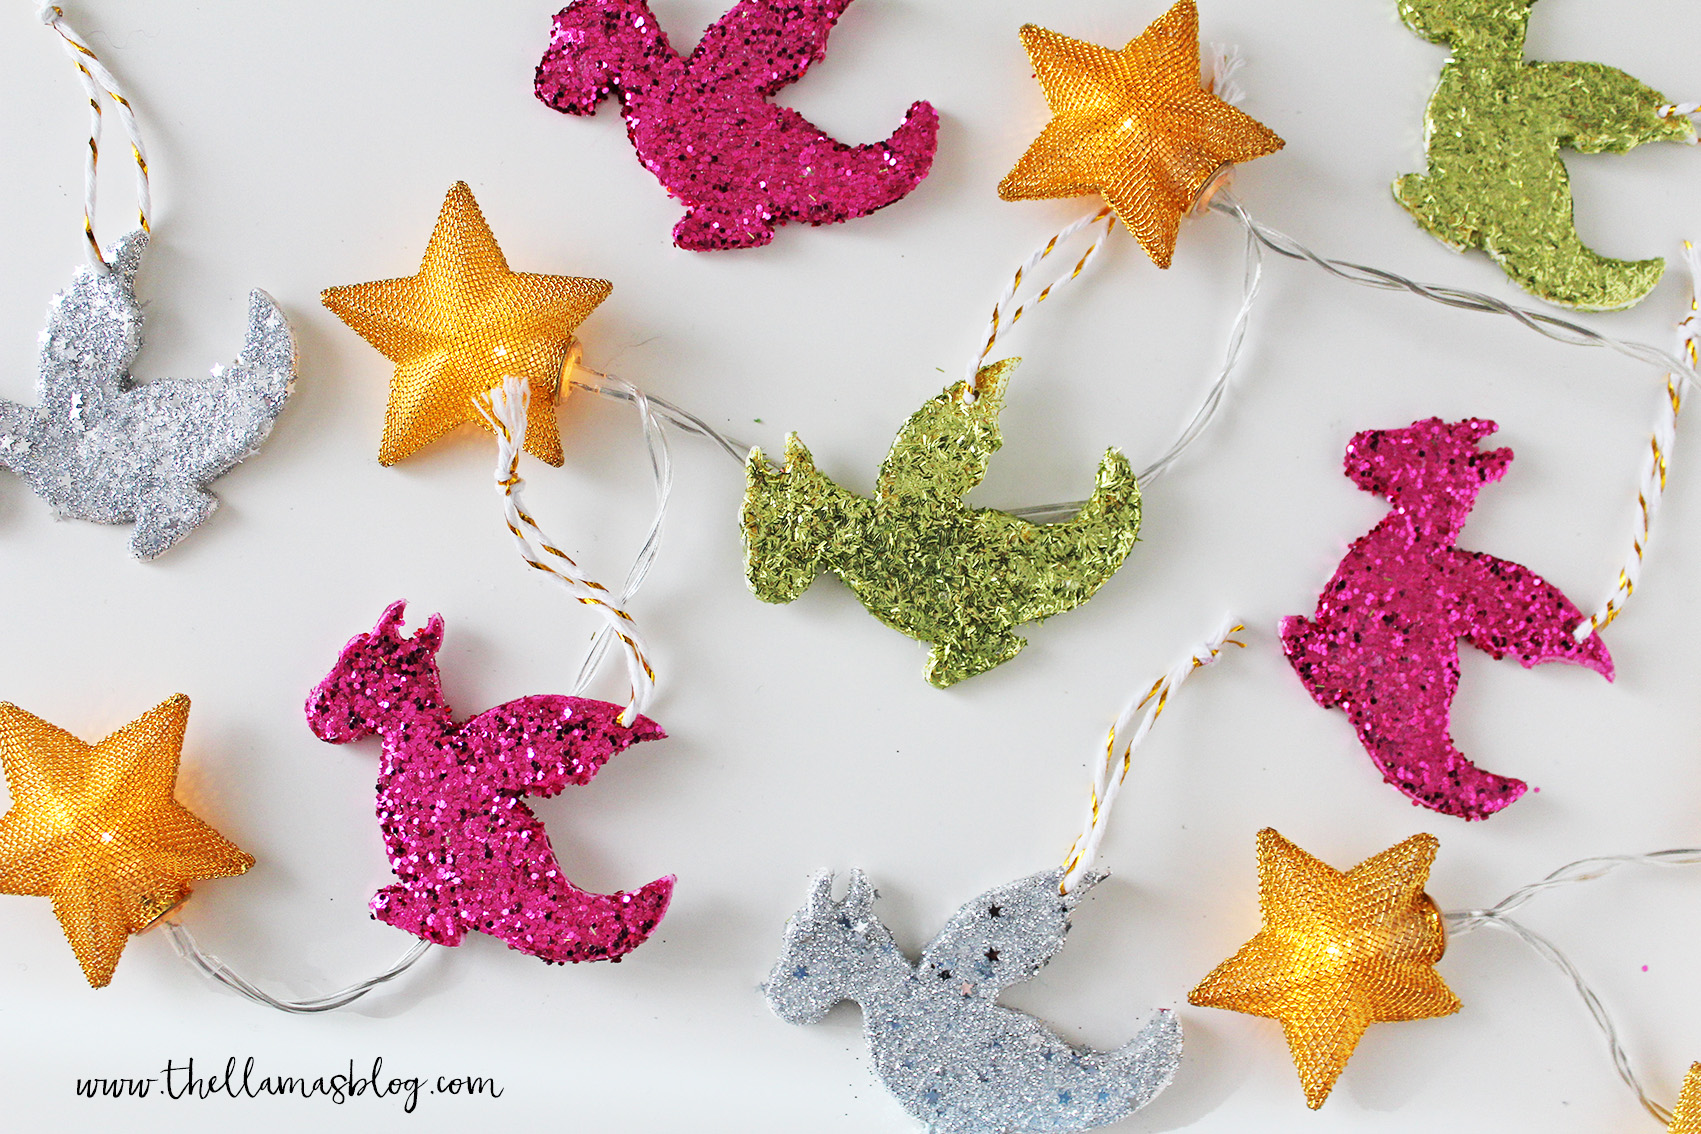
Natale, tempo di cioccolata e di biscotti alla cannella, di regali colorati e di aghi di pino, di luci intermittenti e… di draghi. Sì avete capito bene, proprio di draghi! Chi di voi non ha mai sentito l’irrefrenabile desiderio di decorare l’albero di Natale con delle scintillanti decorazioni a forma di drago? Nessuno?? Meno male che ci siamo noi a farvi scoprire ciò che ancora non immaginavate di poter desiderare xD
Christmas, time for hot chocolate and cinnamon cookies, for colorful gifts and pine needles, flashing lights and… dragons. Yes, you got it right, dragons! Which of you has never felt the uncontrollable desire to decorate the Christmas tree with shimmering dragon-shaped decorations? Nobody?? Luckily we are here to make you discover what you still did not imagine you could desire xD

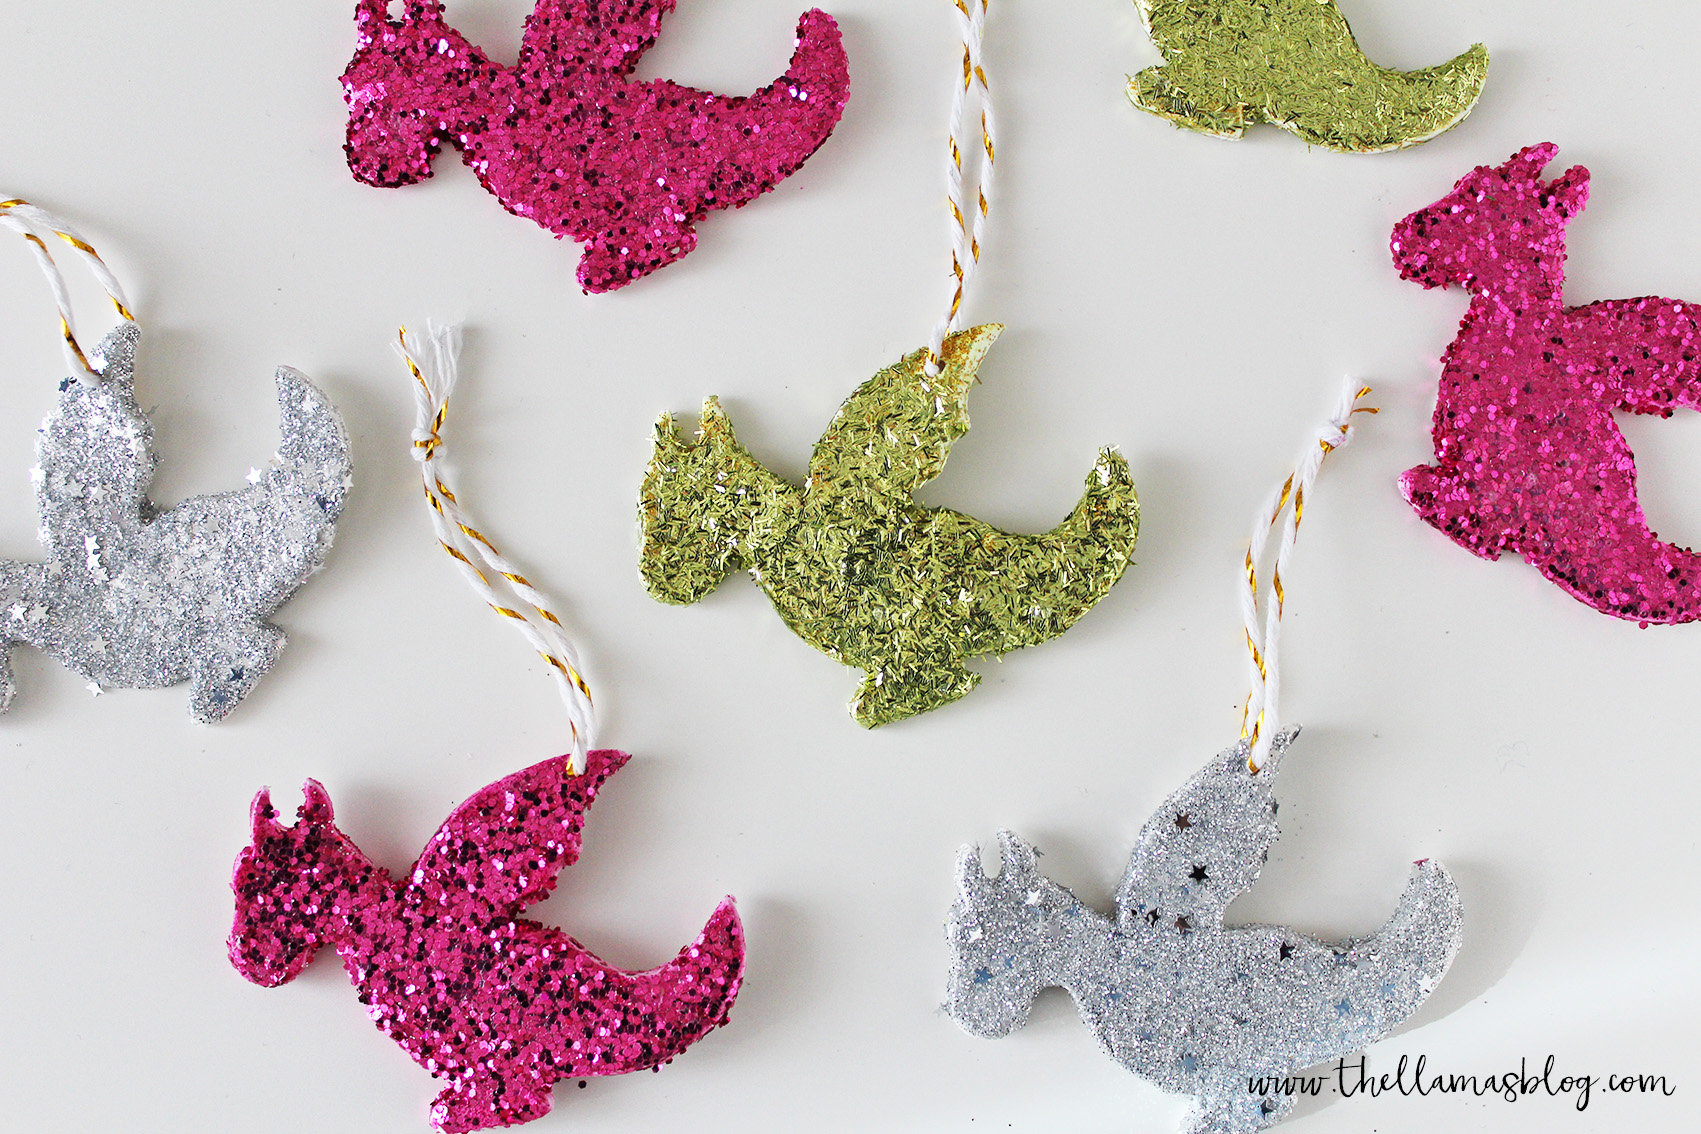
Bastano della pasta modellabile auto indurente, della colla e un po’ di glitter per creare queste scintillanti creature! Noi abbiamo usato uno stampo per biscotti a forma di drago ma potete ovviamente usare lo stampo che più vi piace se lo stile fantasy non è nelle vostre corde xD anche una semplice stella o un cerchio diventano magici con un tocco di glitter rosa! E’ un tutorial in due passaggi, dato che la pasta auto indurente impiega dalle 12 alle 24 ore per asciugare completamente, quindi ricordatevi di tagliare i draghi in anticipo 😀 PER IL TUTORIAL IN ITALIANO CLICCATE SULL’ETICHETTA “ITALIANO” SOTTO LA FOTO.
All you need is air dry clay, glue and a bit of glitter to create these sparkling creatures! We have used a dragon-shaped cookie mold, but of course you can use the cookie mold you prefer, if Fantasy is not your favorite style xD even a simple star or a circle become magical with a touch of pink glitter! It’s a two-step tutorial, as the air dry clay takes 12 to 24 hours to dry completely, so remember to cut out the dragons in advance 😀
MATERIALS
- air dry clay
- dragon-shaped cookie mold
- glitter powder
- glitter paint (optional)
- glue
- brush
- string
TUTORIAL
CUT OUT THE DRAGONS
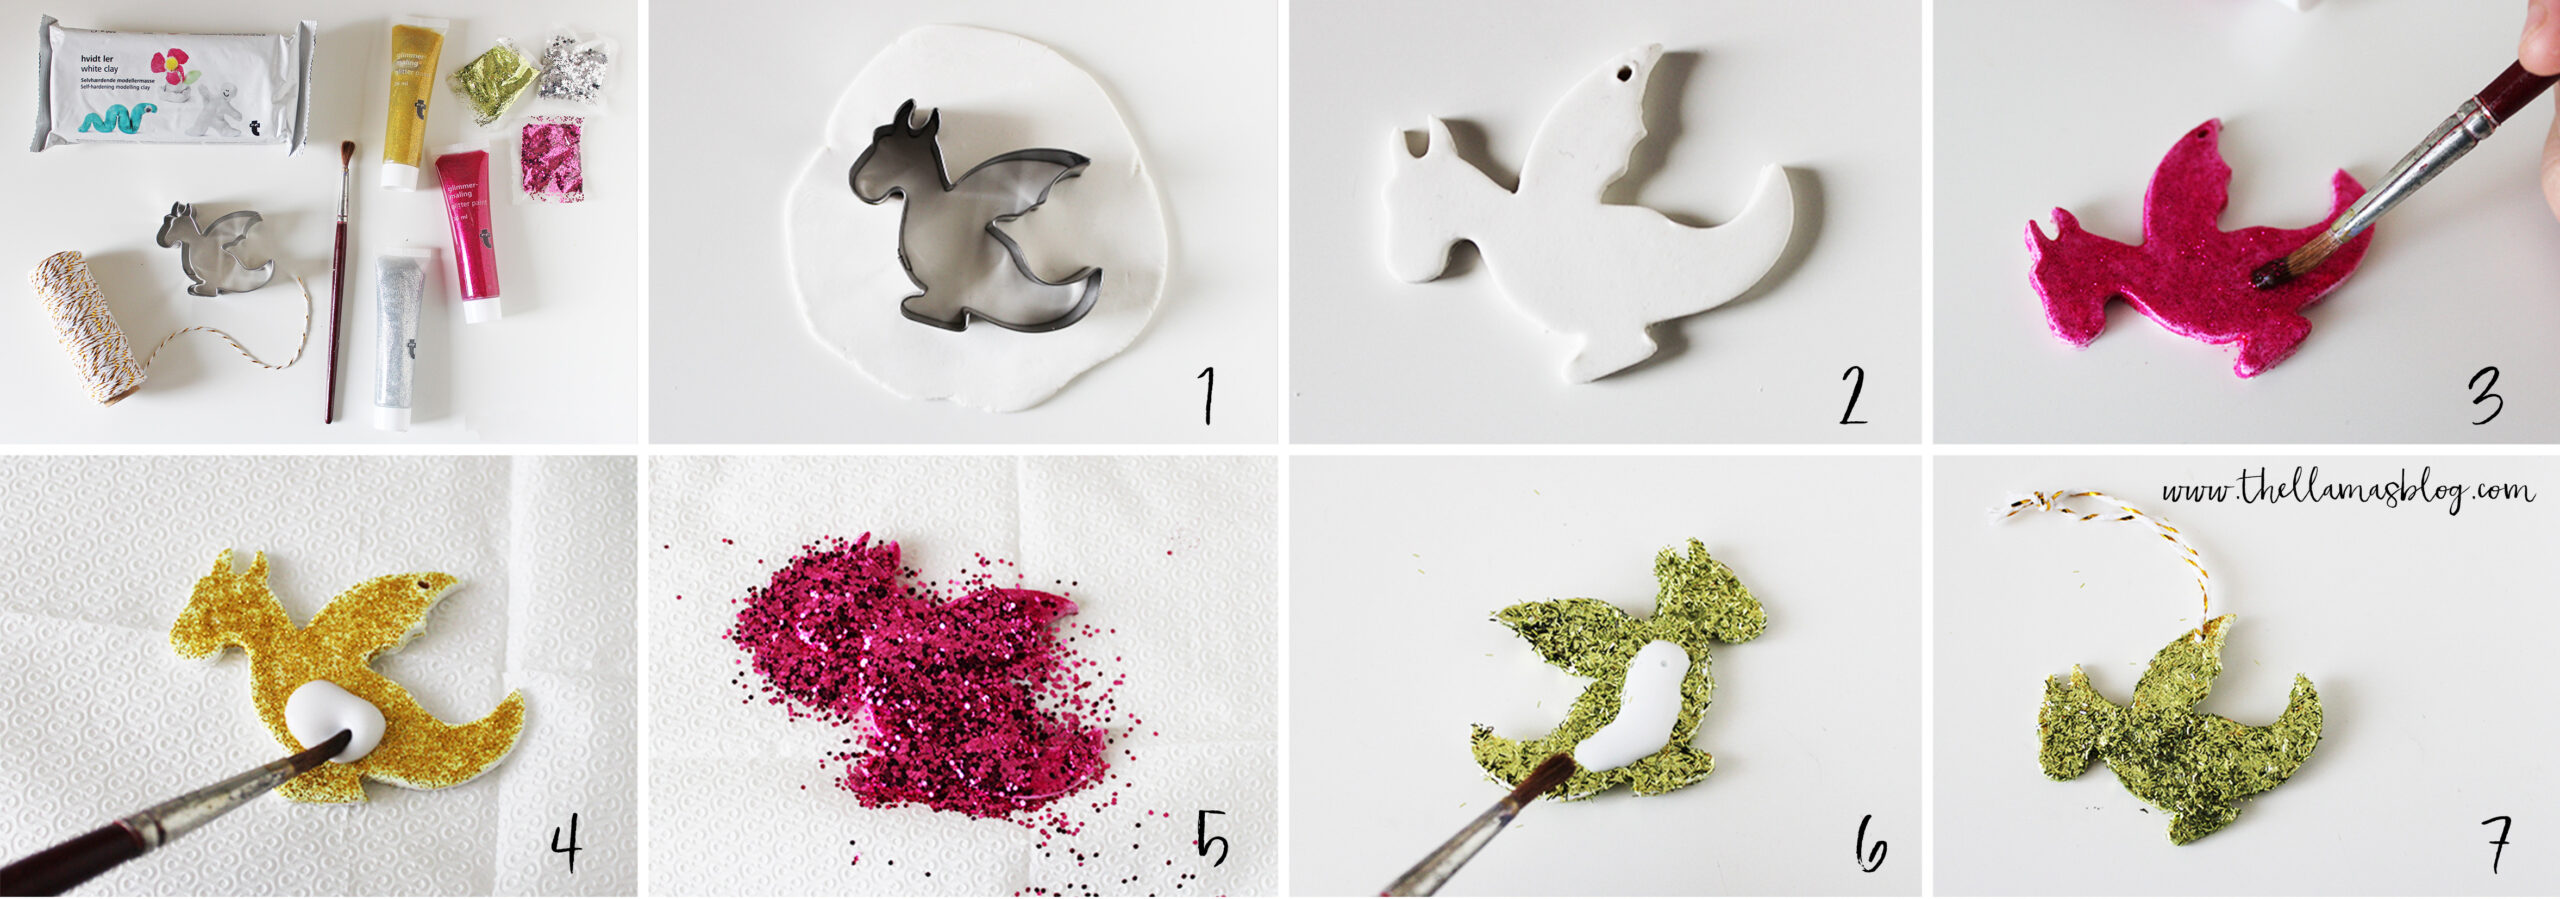
Roll out the air dry clay with the help of a rolling pin or another cylindrical object. Once it’s about 5mm thick, cut out the shape with the biscuit mold (1). Repeat the process until you have cut out all the dragons you need.
MAKE AN HOLE FOR THE STRING
Make a hole in the upper part of the wings to be able to pass the ribbon later (2). Let the dragon dry for 12 or 24 hours, depending on the type of air dry clay used.
USE THE GLITTER PAINT (OPTIONAL)
Once dry, paint the dragon with a glitter paint of the same color of the glitter that you will apply later. This an optional step, in order to create a colored base under the glitter that hides the white of the hardener paste. Paint two or three hands if the paint has a semi-transparent effect, on both sides of the dragon. Let it dry (3).
SPREAD THE GLUE
Spread the glue on the upper surface of the dragon and on the sides with a brush (4).
POUR THE GLITTER POWDER
On a handkerchief, pour the glitter powder on the surface (the one with the glue) of the dragons (5). Once dry, spread the glue on the back (repeating then the previous step) and also sprinkle the back of glitters.
FIX THE GLITTER POWDER
Once dry, pass another generous coat of glue on the dragon (6). Drying it will become transparent and will prevent the glitters from falling.
INSERT THE STRING
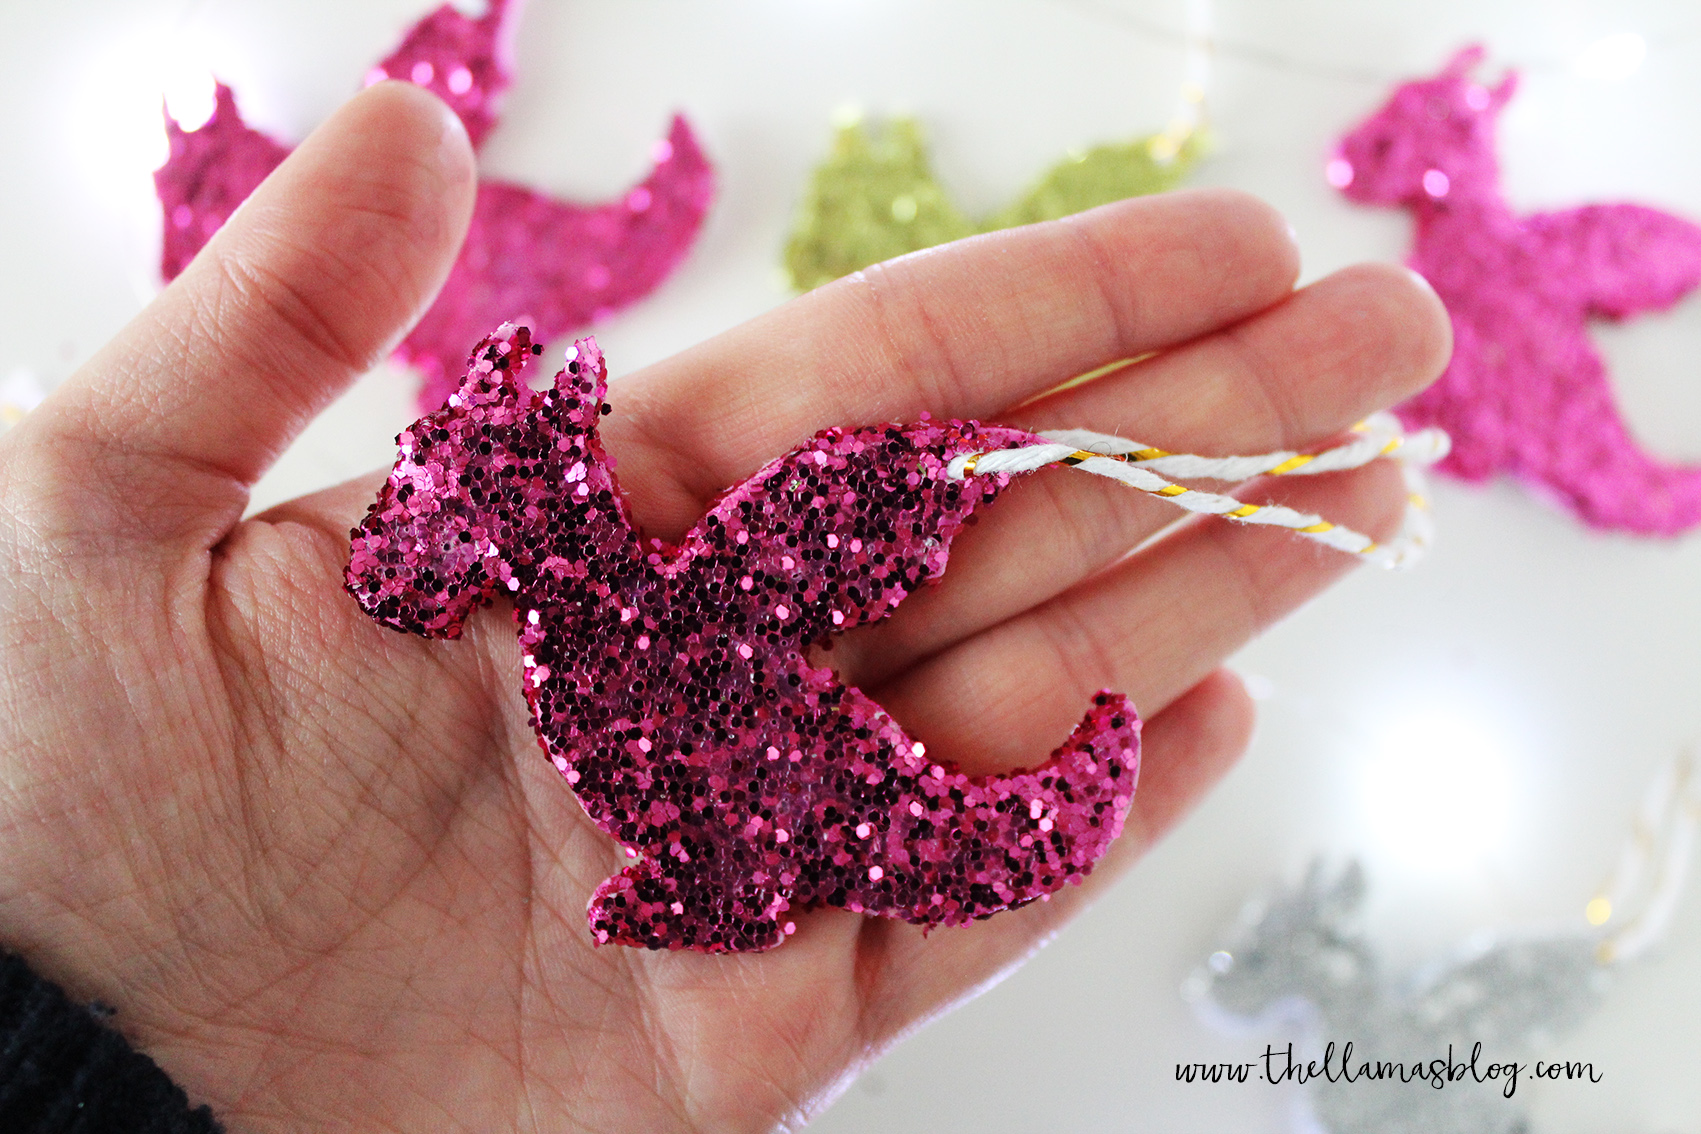
Insert the string in the hole, help with a wide-eye needle if you have any difficulty (7). Knot the ribbon and your sparkling decoration is ready!
MATERIALI
- pasta modellabile auto indurente (DAS)
- stampo per biscotti a forma di drago
- glitter
- vernice glitter (opzionale)
- colla (tipo Vinavil)
- pennello
- spago o nastrino
PROCEDIMENTO
TAGLIA I DRAGHI
Stendi la pasta auto indurente aiutandoti con un matterello o con un altro oggetto di forma cilindrica. Una volta raggiunti i circa 5mm di spessore, taglia la forma con lo stampo per biscotti (1). Ripeti il procedimento finché non avrai tagliato tutti i draghi che ti servono.
FAI UN BUCO PER IL NASTRO
Fai un buco nella parte superiore delle ali per poter successivamente far passare il nastrino (2). Lascia asciugare i draghi per 12 o 24 ore, a seconda del tipo di pasta indurente utilizzato.
DIPINGI CON LA VERNICE GLITTER (OPZIONALE)
Una volta asciutti dipingi i draghi con una vernice glitter dello stesso colore dei glitter che applicherai successivamente. Questo passaggio opzionale serve a far sì che ci sia una base colorata sotto i glitter, in modo da nascondere il bianco della pasta indurente. Dipingete due o tre mani se la vernice ha un effetto semitrasparente, su entrambi i lati dei draghi. Lasciate asciugare (3).
STENDI LA COLLA
Stendi con un pennello la colla sulla superficie superiore dei draghi e sui lati (4).
APPLICA I GLITTER
Versa i glitter su un fazzoletto e impana i draghi come fossero delle cotolette (5). Una volta asciutti, stendi la colla sul retro (ripetendo quindi il procedimento precedente) e cospargi anche il retro di glitter .
FISSA I GLITTER
Una volta asciutti, passa un’altra generosa mano di colla sui draghi (6). Asciugando diventerà trasparente e impedirà ai glitter di cadere.
INSERISCI IL NASTRO
Inserisci nel buco il nastrino per appendere i draghi, aiutati con un ago a cruna larga se hai difficoltà (7). Fai un nodo per bloccare il nastro e la tua decorazione scintillante è pronta!
E’ un tutorial molto semplice, adatto anche ai bambini, potete divertirvi insieme a loro creando diverse forme e personalizzando il vostro albero con delle decorazioni fatte a mano 😀 e, come sempre, non dimenticate di condividere le vostre creazioni su facebook e su instagram, usando l’hashtag #makethingsnotdramas e con la mention @thellamas.lab!
It’s a very simple tutorial, also suitable for children, you can have fun with them creating different shapes and customizing your tree with handmade decorations 😀 and do not forget to share your creations on facebook and instagram, using the hashtag #makethingsnotdramas and mention @thellamas.lab!