

Sono passate due settimane da quando abbiamo annunciato di essere entrate a far parte del team di blogger CasaFacile Style, ma non avevamo ancora condiviso il progetto che ci ha permesso di entrare a far parte del team! Non è stato facile decidere quale progetto presentare per la selezione, c’è stato un momento di crisi in cui le idee proprio non ne volevano sapere di arrivare XD Ma alla fine abbiamo optato per questi piccoli porta foto/biglietti da visita con dettagli dorati, semplici e d’effetto. Siamo soddisfatte del risultato, perché sono davvero semplici da realizzare e siamo riuscite ad aggiungere il nostro tocco ironico e kawaii. Vi è venuta voglia di realizzarli? Speriamo di si 🙂
Per il tutorial completo vi rimandiamo al post su Casafacile! Qui condivideremo solo il tutorial in inglese.
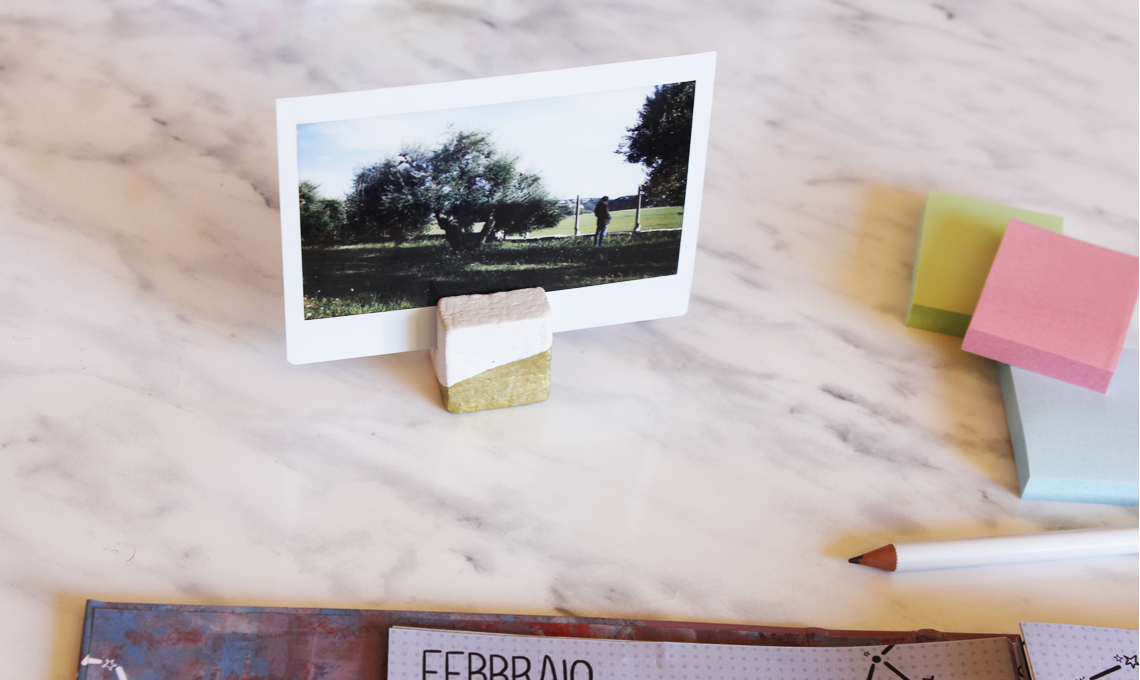
Are you looking for a simple but scenographic way to display your photos? If you love gold and simple shapes, this DIY is perfect for you! These small photo holders are perfect for adding a touch of light to your desk, and they couldn’t be easier to make. All you need is air dry clay and a golden marker! They can also be used for illustrations and postcards, to keep letters and business cards in order, or as a placeholder. They certainly will not go unnoticed!
We made this tutorial for CasaFacile, a beautiful Italian magazine about Interior Design and furnishing, full of inspiration, and we are now part of their blogger team! Now let’s move to the tutorial!
MATERIALS
- air dry clay
- a spatula or a knife
- gold permanent marker
- black permanent marker, thin tip
- paper scotch tape
TUTORIAL (STEP-BY-STEP PICTURES HERE)
STEP 1
Using the spatula or knife, cut some “slices” of clay, with a thickness of about 2.5 cm. Obtain from the various slices a square (3.5 x 3.5 cm approximately), a triangle (3.5 cm base lenght) and a rectangle (9 x 3 cm approximately). (1).
STEP 2
Always using the spatula, cut a slot of about 1 mm thick on the side of the blocks, long about 2/3 of the depth. (2). Smooth the clay with wet fingers. Leave it to dry for a few hours.
STEP 3
Decorate the blocks using the golden marker. Use the paper scotch to draw the lines as straight as possible. (3). Draw the details with the black marker and let it dry. Finished!