Ciao a tutti! Dopo un periodo pieno di impegni che ci hanno tenute lontane dal blog, torniamo con una novità…il primo post in collaborazione con Panini Tessuti, un’azienda di Modena! Siamo davvero molto contente di questa collaborazione, con il materiale che ci hanno fornito abbiamo interpretato un classico di quest’estate… l’anguria! Abbiamo deciso di realizzare una pochette in ecopelle, un materiale che ci piace molto. Quella fornitaci da Panini Tessuti è davvero di ottima qualità, è molto morbida e si cuce facilmente, anche in più strati…inoltre sul loro shop online è disponibile in tanti colori! L’azienda è anche sponsor della rivista “Ago filo e fantasia” e ci ha fornito tutto il materiale per realizzare il tutorial contenuto nel prossimo numero… di cui per ora non vi sveliamo nulla 😉 Passiamo al pattern!
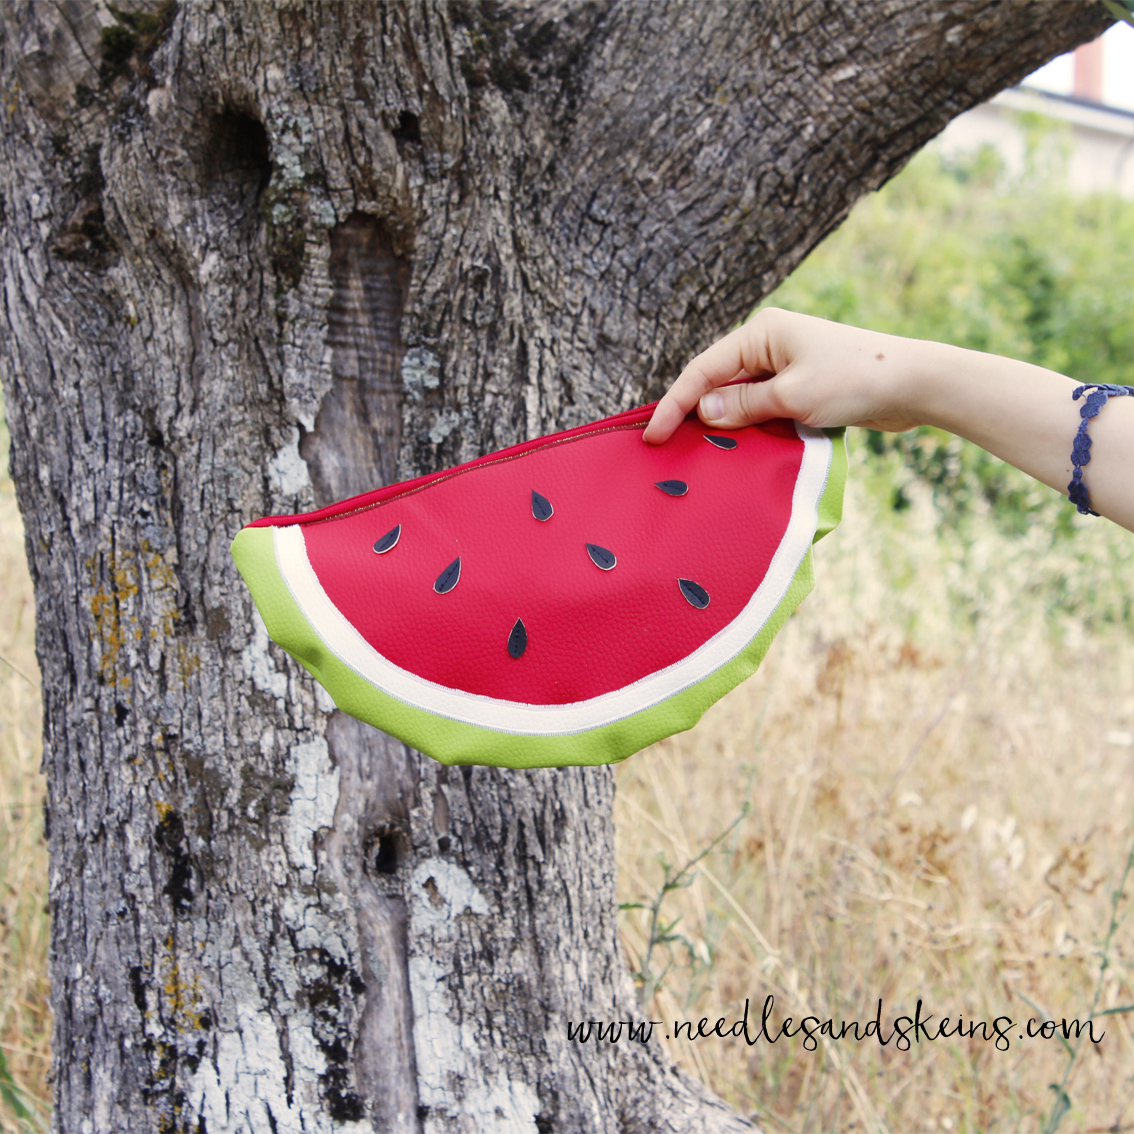
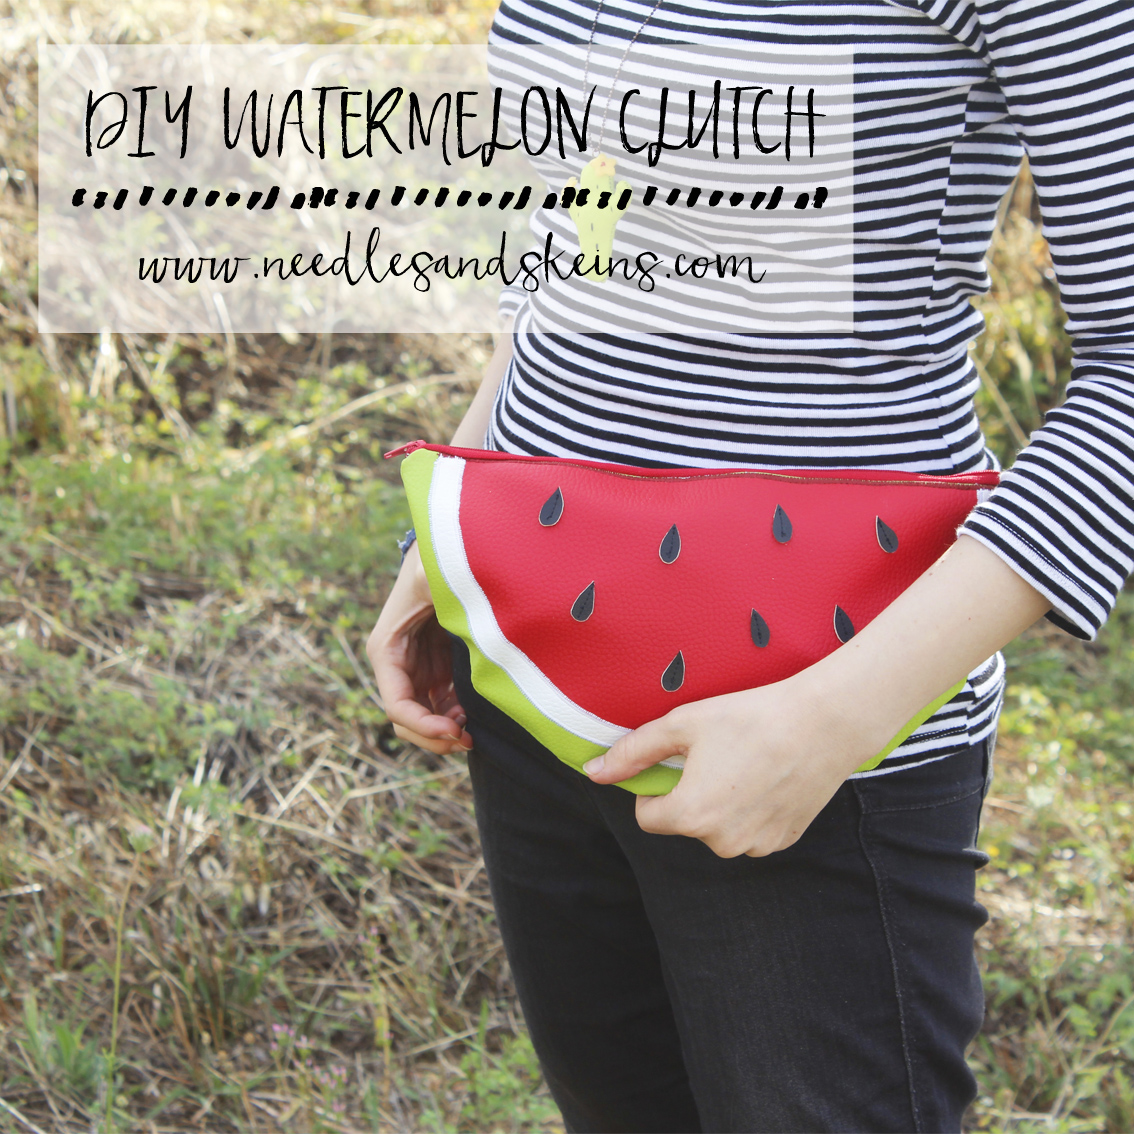
Hello everyone! After a very busy period that have kept us away from the blog, we are back with a news… the first post in collaboration with Panini Tessuti, a textile company from Modena! We are very happy about this collaboration, with the material they sent us we decided to re-think a summer classic…the watermelon! We decided to make a clutch bag in faux leather, a material that we like very much. The one given to us by Panini Tessuti is really high quality, very soft and easy to sew, even in multiple layers…on their online shop is available in many colors! The company is also a sponsor of “Ago filo e fantasia” magazine and provided us with all the material for the tutorial contained in the next issue…for now we will not reveal anything 😉 Let move to the pattern! (For the tutorial click on the “English” label)
MATERIALI
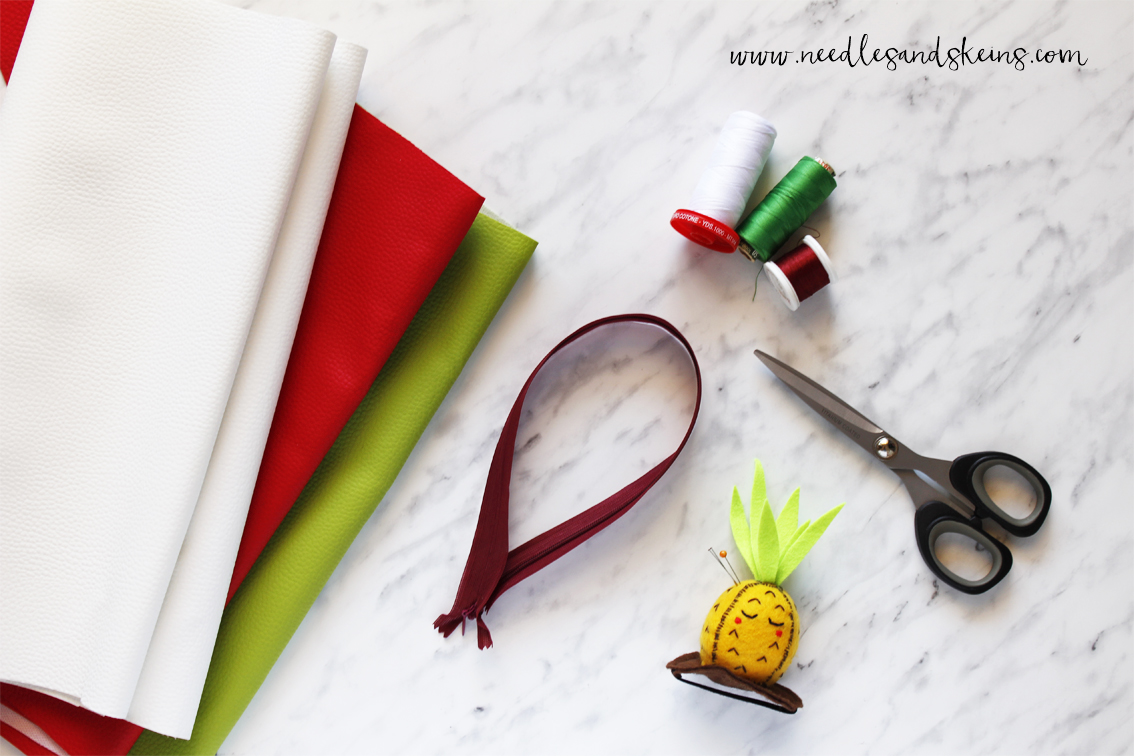
- ecopelle medio peso rossa, verde, bianca e nera
- cerniera rossa da 30 cm
- cartamodello (vedere qui in basso)
- macchina da cucire
- filo bianco, rosso e nero da cucito
- ago da cucito
- forbici o rotella per sarti
- gesso da sarto
NOTE SUL CARTAMODELLO
- Scaricate qui il cartamodello in pdf.
- Il cartamodello della borsa comprende i margini di cucitura, segnati con una linea tratteggiata.
PROCEDIMENTO
RITAGLIA I VARI PEZZI
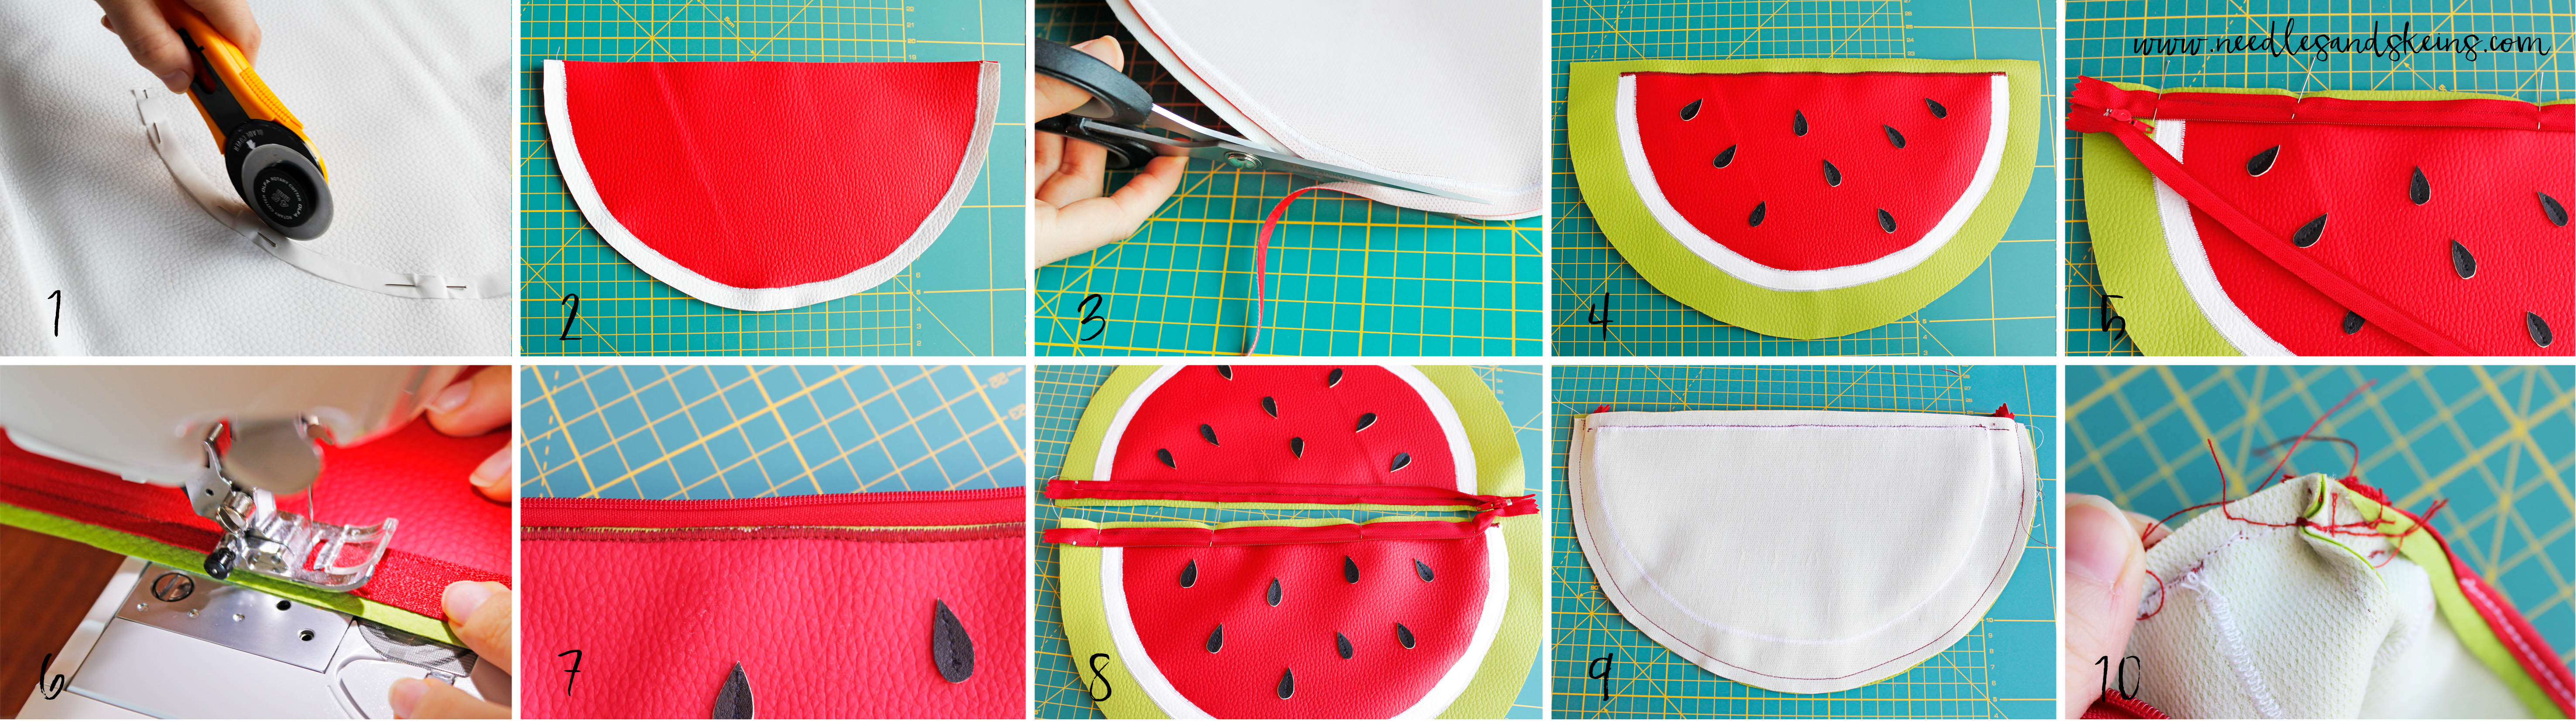
Comincia a ritagliare le varie parti del cartamodello. Assicurale sulla stoffa con degli spilli e disegna i contorni con il gesso da sarto, poi ritaglia il tutto (1) . Assicurati di avere i seguenti pezzi:
- 2 pannelli laterali verdi
- 2 pannelli rossi
- 2 strisce bianche
- 16 semini
COSTRUISCI LA FETTA
Sistemare un pannello rosso con il dritto rivolto verso l’alto , poi adagiarvi sopra una striscia bianca, facendoli combaciare e fermandoli con degli spilli. Cucirli insieme con un punto zig zag molto stretto (deve sembrare quasi un cordoncino), usando il filo bianco (2) .
Taglia l’ecopelle rossa in eccesso sul retro, sotto la cucitura (3) .
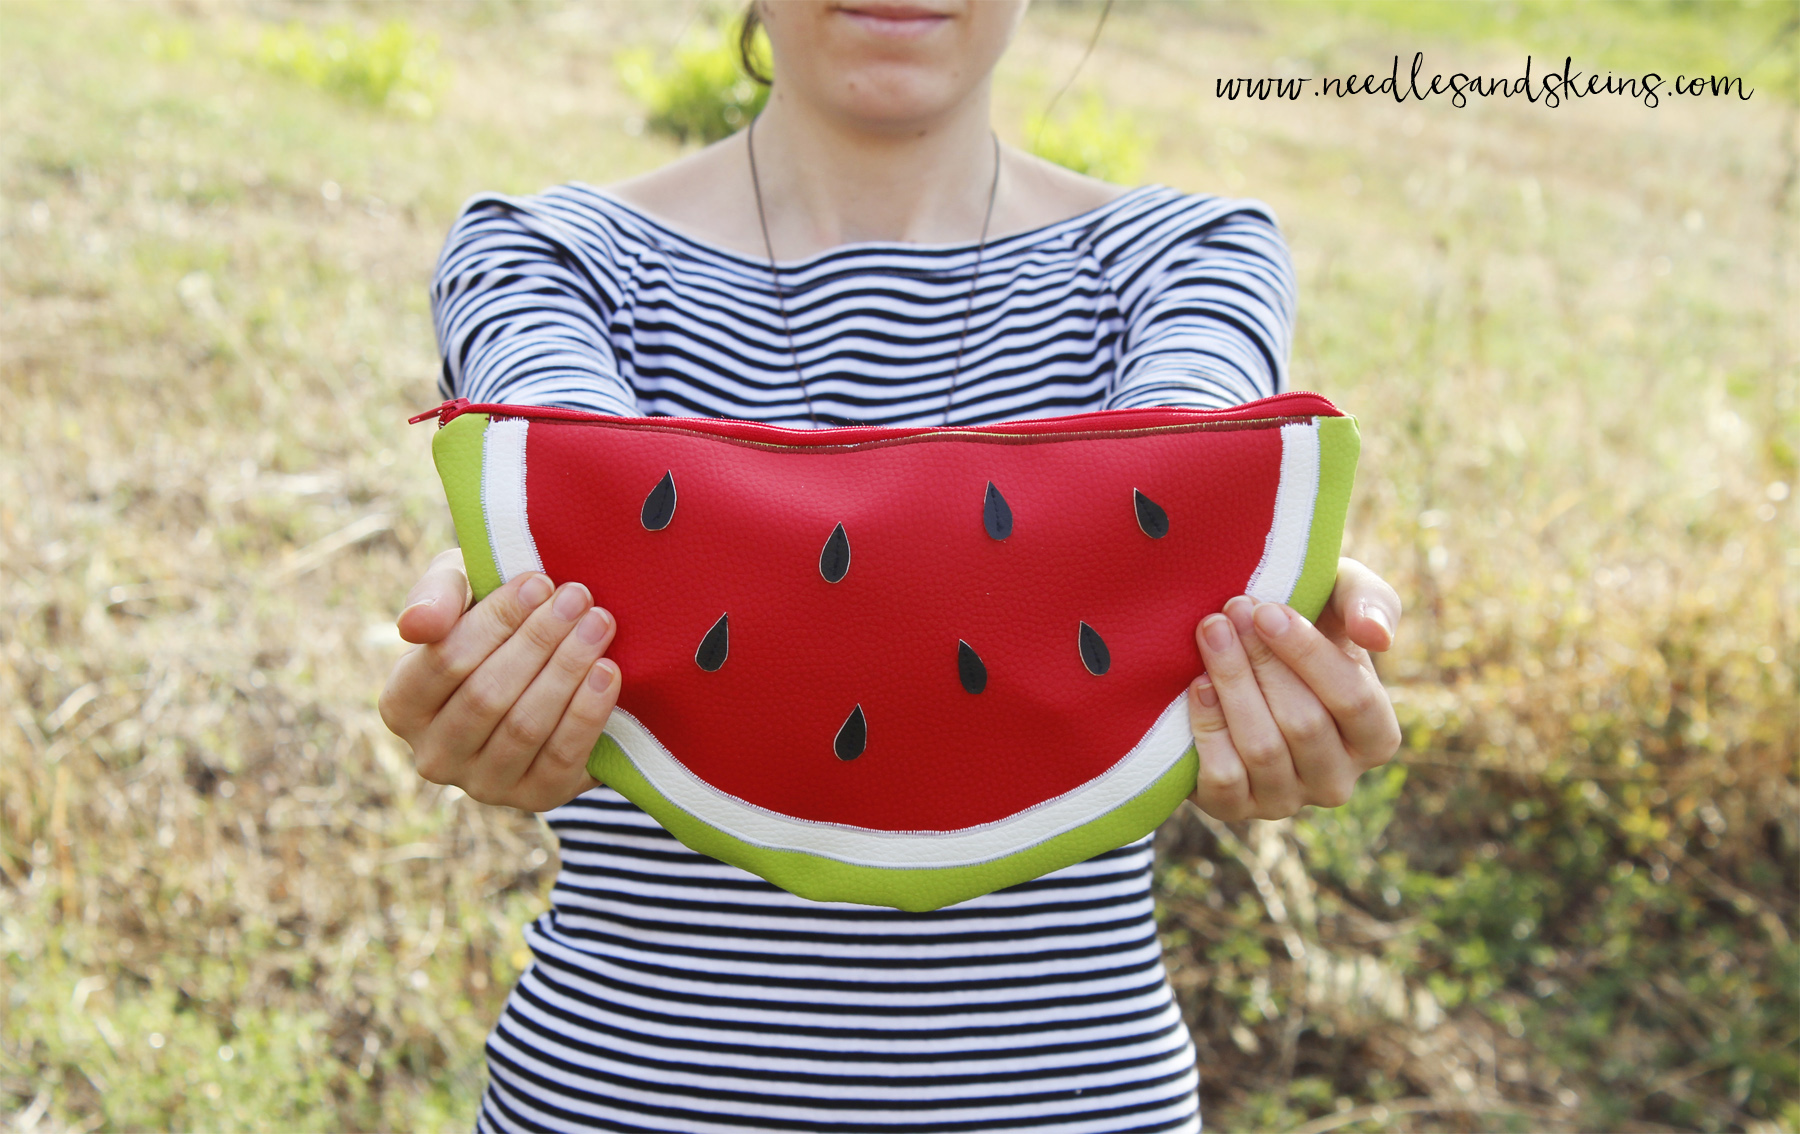
Cucire 8 semini sul pannello rosso con una cucitura dritta centrale, usando il filo nero. Sistemare poi un pannello verde con il dritto verso l’alto e adagia sopra la parte rossa e bianca già cucita, posizionandola come nel cartamodello e fermando il tutto con degli spilli. Sempre con un punto zig zag molto stretto, cucire la parte bianca con del filo bianco e la parte rossa con del filo rosso (4) .
Ripetere l’operazione per l’altro pannello (foto 1-4) .
Posizionare la cerniera aperta sul pannello cucito, con le parti dritte a contatto (5) .
Cucire la cerniera vicino al bordo rosso della fetta, con un punto dritto e usando il filo rosso (6) .
Sul dritto ribattere la cerniera, sempre con un punto dritto e usando il filo rosso, cucendo appena sotto il cordoncino zig zag (7) .
Ripetere l’operazione sull’altro pannello (8) .
Cucire insieme i pannelli con le parti dritte a contatto (9) . Ricordatevi di lasciare aperta la cerniera, o non potrete girare la borsa!
Fissare la cerniera cucendo gli estremi al margine di cucitura all’interno della borsa (10) . Girare la borsa.
MATERIALS
- red, white, green and black faux leather
- 30 cm zipper
- template (see the notes below)
- sewing machine
- white, red and black thread
- sewing needle
- scissors
- taylor chalk
TEMPLATE NOTES
- Download here the pdf template.
- Watermelon template includes seam allowances (dotted line).
TUTORIAL
CUTTING OUT
Start cutting out the template pieces. Pin them to your faux leather, draw around the pieces using a tailor chalk, then cut them out (1) . Make sure you have the following pieces:
- 2 sides in green
- 2 sides in red
- 2 stripes in white
- 16 black seeds
CONSTRUCT THE SLICE
Place a red panel right side up, then lay a white stripe on the top, making them fit together, and stop them with pins. Sew them together with a very tight zigzag stitch (the seam must look like a cord), using the white thread (2) .
Cut the exceeding red faux leather on the back, under the seam (3) .
Sew 8 seeds on the red panel with a central straight stitch, using the black thread. Then place a green panel right side up and lay on it the previously sewn red and white panel, placing it as the template and stopping them together with pins. Then, always using a very tight zigzag stitch, sew the white part with the white thread and the red part with the red thread (4) .
Repeat the operations for the other panel (pics 1-4) .
Place the open zipper on the stitched panel, with with the right sides facing (5) .
Sew the zipper near the red edge of the slice, using a straight stitch and the red thread (6) .
Press the seam flat on the right side, always using a straight stitch and the red thread, stitching just below the zigzag cord (7) .
Repeat the operations for the other panel (8) .
Sew the panels together with the right sides facing (9) . Remember to leave the zipper open, otherwise you will not be able to turn the bag out!
Fix the zipper extremes sewing them at the binding inside the bag (10) . Turn the bag out.
Per l’occasione ci trovate immerse in un inedito panorama bucolico…la campagna vicino casa dei nostri nonni! XD All’inizio eravamo un po’ scettiche, però la borsa ci sta proprio bene…non trovate?
For this occasion you can see us in an unusual bucolic location…the countryside near our grandparents’ house! XD We were a bit skeptical at the beginning, but the bag looks really good in this landscape…don’t you think so?