
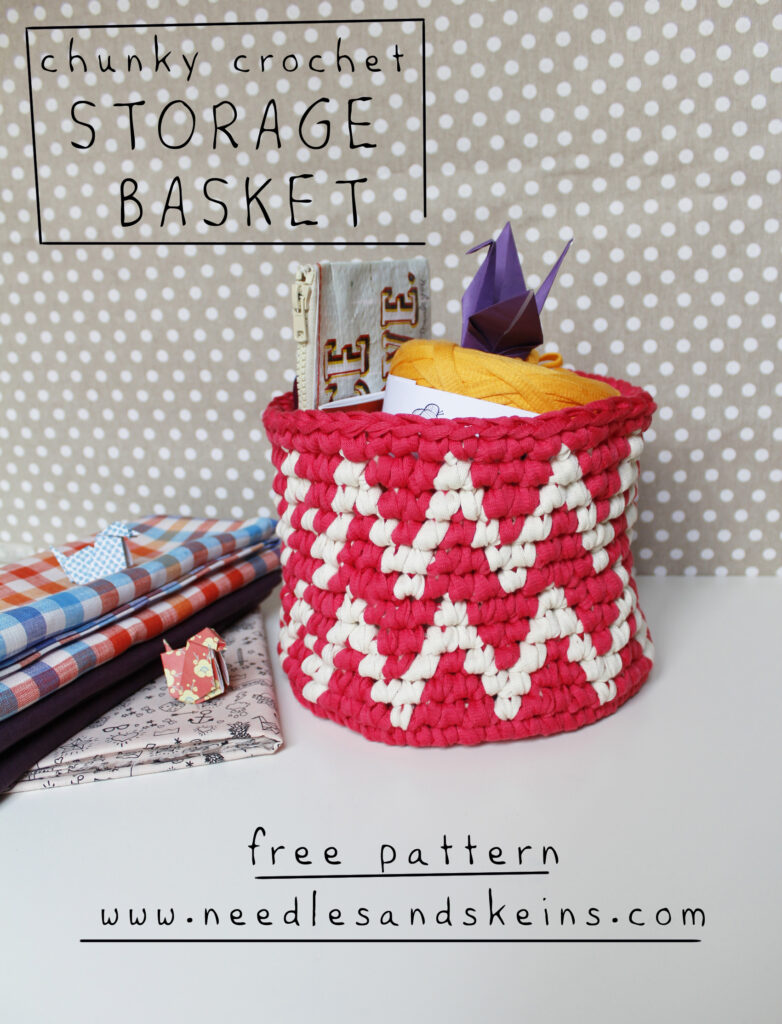
Se come me siete disordinate e alla costante ricerca di posti dove conservare la vostra attrezzatura creativa questo progetto fa per voi! Un cestino in fettuccia di cotone, tutto lavorato in maglia bassa e con una fantasia a zig-zag, che porterà un po’ di colore e di ordine sulle vostre scrivanie.
If you are messy and constantly looking for places to store your creative tools (just like me!) this project is perfect for you! It’s a crochet basket made with t-shirt material yarn, all worked in double crochet stitches and with a zig-zag pattern, that will bring a little bit of color and order on your desks.
Per realizzare questo progetto è necessario conoscere la tecnica del tapestry crochet descritta in questo post, nel quale troverete anche un breve video tutorial. Questa tecnica permette di realizzare il nostro disegno a chevron in modo che risulti visibile su entrambi i lati: questo perché i colori non lavorati vengono nascosti all’interno delle maglie. Ora passiamo al pattern!
For this project you need to know the technique of tapestry crochet described in this post, where you can also find a short video tutorial (and a link to a tutorial in english). This technique allows us to realize our chevron pattern, that will be perfectly visible on both sides: that happens because unused yarns are hide in the stitches. Let’s get to the pattern!
MATERIALI
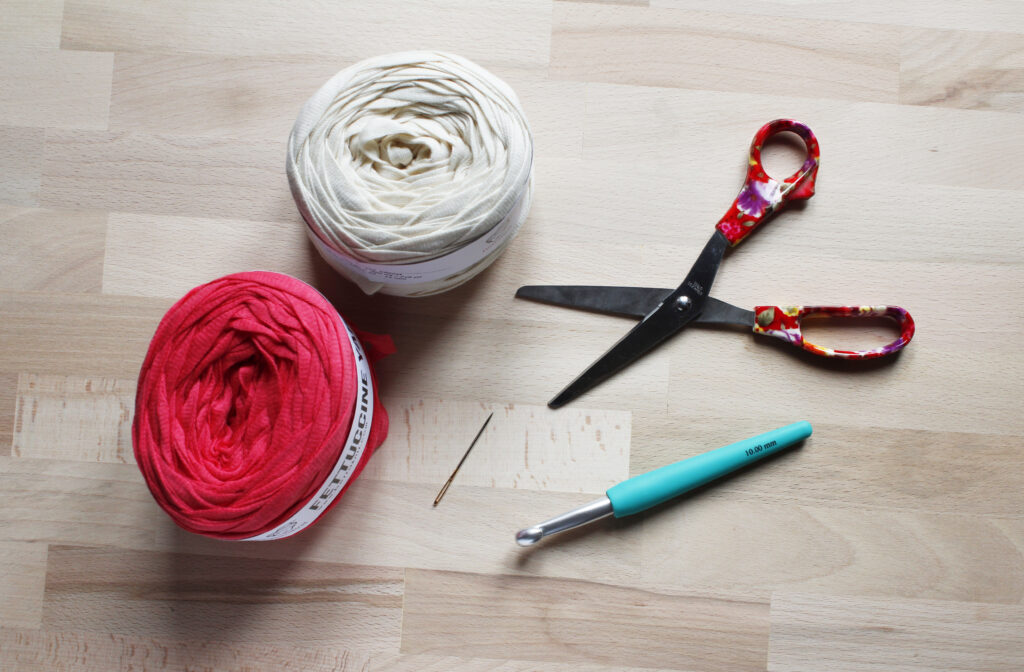
- 2 gomitoli di fettuccia in cotone (uno bianco e uno corallo), da 200 gr *
- uncinetto 9 mm o 10 mm
- forbici
- ago da lana (o da tappezzeria)
* Io ho usato Fettuccine Yarn di BettaKnit, nei colori bianco e corallo.
ABBREVIAZIONI
- aum = aumento
- m.b = maglia bassa
- m.bs. = maglia bassissima
- cat = catenella
PATTERN
PER LA BASE
- 1° giro – Lavorare 8 m.b. all’interno del cerchio magico, poi chiudere con una m.bs. nella prima m.b.
- 2° giro – Lavorare 1 cat., poi 1 aum. in ogni maglia [16 m.]. Chiudere con una m.bs. nella prima maglia.
- 3° giro – Lavorare 1 cat., *1 m.b. e dopo 1 aum. nella maglia seguente*, ripetere da * a * 7 volte [24 m.b.]. Chiudere con una m.bs. nella prima maglia.
- 4° giro – Lavorare 1 cat., *2 m.b. e dopo 1 aum.*, ripetere da * a * 7 volte [32 m.b.]. Chiudere con una m.bs. nella prima maglia.
- 5° giro – Lavorare 1 cat., *3 m.b. e dopo 1 aum.*, ripetere da * a * 7 volte [40 m.b.]. Chiudere con una m.bs. nella prima maglia.
- 6° giro – Lavorare 1 cat., *4 m.b. e dopo 1 aum.*, ripetere da * a * 7 volte [48 m.b.]. Chiudere con una m.bs. nella prima maglia.
PER LE PARETI
- 1° giro – Lavorare 1 cat., 48 m.b., chiudere con una m.bs. nella prima m.b.
- 2° giro – Lavorare 1 cat., 48 m.b., chiudere con una m.bs. nella prima m.b.
A questo punto si deve incorporare la fettuccia bianca e applicare la tecnica del tapestry crochet, nascondendo nelle maglie il filo che non si sta lavorando, così come descritto nel video tutorial. Sotto la spiegazione dei vari giri trovate uno schema con i cambi di colore, del quale potete anche scaricare il pdf.
- 3° giro – Lavorare 1 cat., *3 m.b. corallo, cambio colore 1 m.b. bianca*, ripetere da * a * 11 volte [48 m.b.], chiudere con una m.bs. nella prima m.b.
- 4° giro – Lavorare 1 cat., *2 m.b. corallo, cambio colore 2 m.b. bianche*, ripetere da * a * 11 volte [48 m.b.], chiudere con una m.bs. nella prima m.b.
- 5° giro – Lavorare 1 cat., *1 m.b. bianca, cambio colore 1 m.b. corallo*, ripetere da * a * 22 volte [48 m.b.], chiudere con una m.bs. nella prima m.b.
- 6° giro – Lavorare 1 cat., *2 m.b. bianche, cambio colore 2 m.b. corallo*, ripetere da * a * 11 volte [48 m.b.], chiudere con una m.bs. nella prima m.b.
- 7° giro – Lavorare 1 cat., 1 m.b. corallo, *1 m.b. bianca, cambio colore 3 m.b. corallo*, ripetere da * a * 10 volte, 1 m.b bianca, cambio colore 2 m.b. corallo [48 m.b.], chiudere con una m.bs. nella prima m.b.
- 8° giro – Lavorare 1 cat., *3 m.b. corallo, cambio colore 1 m.b. bianca*, ripetere da * a * 11 volte [48 m.b.], chiudere con una m.bs. nella prima m.b.
- 9° giro – Lavorare 1 cat., 1 m.b. bianca, *2 m.b. corallo, cambio colore 2 m.b. bianche*, ripetere da * a 10 volte, 2 m.b corallo, cambio colore 1 m.b. bianca [48 m.b.], chiudere con una m.bs. nella prima m.b.
- 10° giro – Lavorare 1 cat., *1 m.b. bianca, cambio colore 1 m.b. corallo*, ripetere da * a * 22 volte [48 m.b.], chiudere con una m.bs. nella prima m.b.
- 11° giro – Lavorare 1 cat., 1 m.b. corallo, *2 m.b. bianche, cambio colore 2 m.b. corallo*, ripetere da * a * 10 volte, 2 m.b bianche, cambio colore 1 m.b. corallo [48 m.b.], chiudere con una m.bs. nella prima m.b.
- 12° giro – Lavorare 1 cat., 1 m.b. corallo, *1 m.b. bianca, cambio colore 3 m.b. corallo*, ripetere da * a * 10 volte, 1 m.b bianca, cambio colore 2 m.b. corallo [48 m.b.], chiudere con una m.bs. nella prima m.b.
Alla fine del 12° giro possiamo tagliare il filo bianco e farlo perdere nel lavoro.
- 13° giro – Lavorare 1 cat., 48 m.b., chiudere con una m.bs. nella prima m.b.
Download schema chevron.pdf![]()
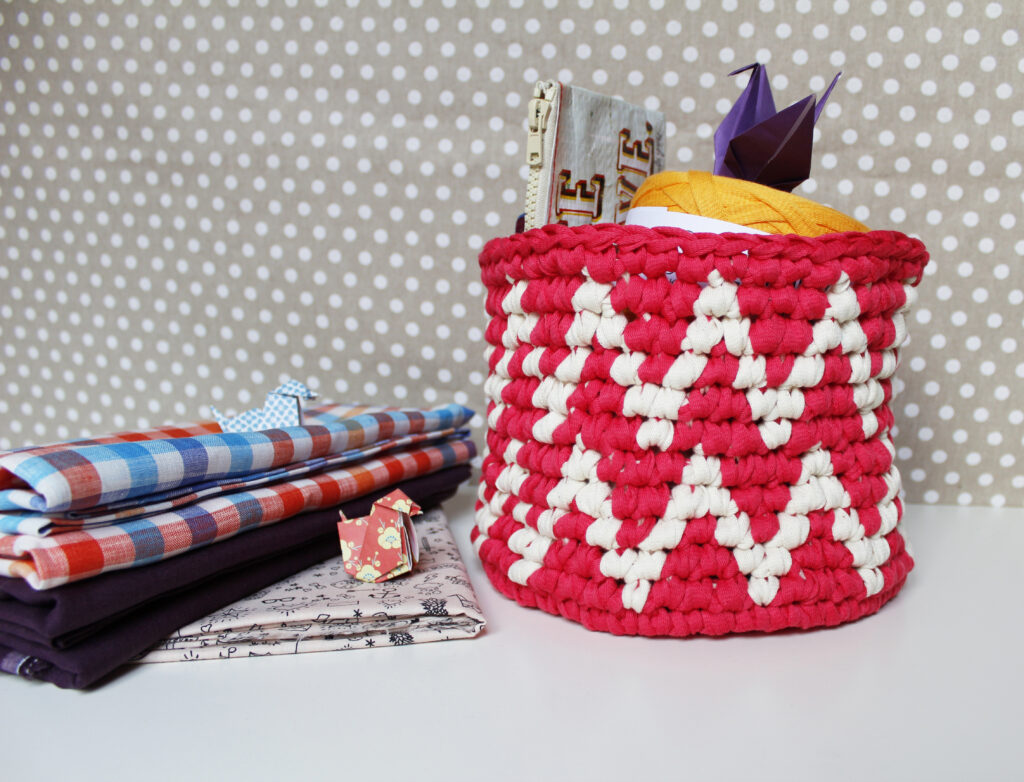
Ed ecco il risultato!
MATERIALS
- 2 skeins of t-shirt material yarn (one in white and one in coral), 200 gr *
- 9 mm or 10 mm hook
- scissors
- tapestry needle
* I used Fettuccine Yarn in white and coral, from BettaKnit.
ABBREVIATIONS – UK terminology (US in brackets)
- inc = increase
- dc = double crochet (single crochet)
- sl st = slip stitch
- ch = chain
PATTERN
FOR THE BASE
- Round 1 – 8 ch in the magic ring, sl st to the first dc.
- Round 2 – 1 ch, then 1 inc in each stitch around [16 dc], sl st to the first dc.
- Round 3 – 1 ch, (dc in next stitch, inc in next stitch), repeat 7 times [24 dc], sl st to the first dc.
- Round 4 – 1 ch, (dc in next 2 stitches, inc in next stitch), repeat 7 times [32 dc], sl st to the first dc.
- Round 5 – 1 ch, (dc in next 3 stitches, inc in next stitch), repeat 7 times [40 dc], sl st to the first dc.
- Round 6 –1 ch, (dc in next 4 stitches, inc in next stitch), repeat 7 times [48 dc], sl st to the first dc.
FOR THE WALLS
- Round 1 – 1 ch, dc in each stitch around [48 dc], sl st to the first dc.
- Round 2 – 1 ch, dc in each stitch around [48 dc], sl st to the first dc.
Now we have to incorporate the white yarn and apply the tapestry crochet technique, hiding the unused yarn in the stitches as shown in the video tutorial. Under the description of the various rows you’ll find a scheme with color changes. You can also download the pdf file of the scheme.
- Round 3 – 1 ch, (dc in coral in the next 3 stitches, dc in white in the next stitch), repeat 11 times [48 dc], sl st to the first dc.
- Round 4 – 1 ch, (dc in coral in the next 2 stitches, dc in white in the next 2 stitches), repeat 11 times [48 dc], sl st to the first dc.
- Round 5 – 1 ch, (dc in white in the next stitch, dc in coral in the next stitch), repeat 22 times [48 dc], sl st to the first dc.
- Round 6 – 1 ch, (dc in white in the next 2 stitches, dc in coral in the next 2 stitches), repeat 11 times [48 dc], sl st to the first dc.
- Round 7 – 1 ch, dc in coral in the next stitch, (dc in white in the next stitch, dc in coral in the next 3 stitches), repeat 10 times, dc in white in the next stitch, dc in coral in the next 2 stitches [48 dc], sl st to the first dc.
- Round 8 – 1 ch, (dc in coral in the next 3 stitches, dc in white in the next stitch), repeat 11 times [48 dc], sl st to the first dc.
- Round 9 – 1 ch, dc in white in the next stitch, (dc in coral in the next 2 stitches, dc in white in the next 2 stitches), repeat 10 times, dc in coral in the next 2 stitches, dc in white in the next stitch [48 dc], sl st to the first dc.
- Round 10 – 1 ch, (dc in white in the next stitch, dc in coral in the next stitch), repeat 22 times [48 dc], sl st to the first dc.
- Round 11 – 1 ch, dc in coral in the next stitch, (dc in white in the next 2 stitches, dc in coral in the next 2 stitches), repeat 10 times, dc in white in the next 2 stitches, dc in coral in the next stitch [48 dc], sl st to the first dc.
- Round 12 – 1 ch, dc in coral in the next stitch, (dc in white in the next stitch, dc in coral in the next 3 stitches), repeat 10 times, dc in white in the next stitch, dc in coral in the next 2 stitches [48 dc], sl st to the first dc.
At the end of the round we can cut the white yarn and hide it in the work.
- Round 13 – 1 ch, dc in each stitch around [48 dc], sl st to the first dc.
Download schema chevron.pdf![]()
And here’s the result!
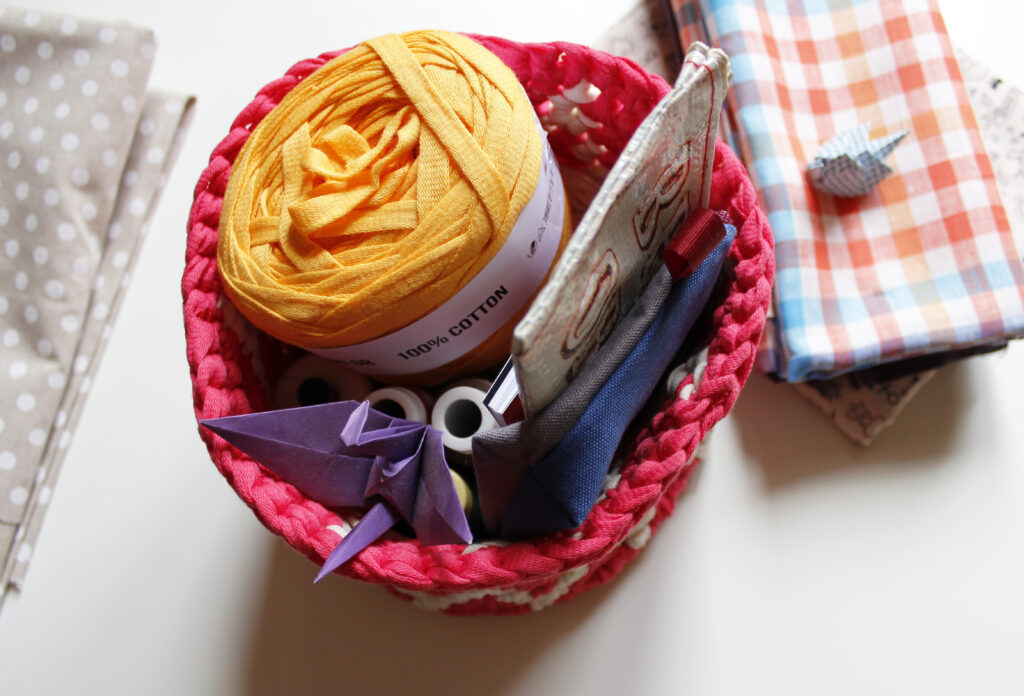
Il cestino è davvero capiente, l’ho riempito con vari fili da cucito, due astucci con gli uncinetti e tre gomitoli di fettuccia…e c’è ancora un po’ di spazio! Inoltre sta davvero bene nell’angolo creativo (prima o poi mi deciderò a mettere in ordine e a postare una foto). E voi cosa conserverete nel vostro cestino a zig-zag?
This basket is really roomy, I filled it with a couple of sewing threads, two cases full of hooks and three t-shirt material skeins…and there is still some place in it! It also looks beautiful on my craft corner (sooner or later I’ll decide to tidy up and post a picture). What will you store in your zig-zag basket?
Your experience in the post shows throughout your writing. Great post!