
Lo ammetto, quando lavoro ad un nuovo progetto la confusione regna sovrana…e puntualmente mi ritrovo a scandagliare il pavimento, alla ricerca di aghi e spilli perduti! Alzi la mano chi non si è mai trovato in questa situazione: oh bene, non vedo nessuna mano XD
I admit, when I work on a new project chaos takes over…and I find myself regularly scan the floor, looking for lost pins and needles! Raise your hand if you have never been in this situation: oh well, I don’t see any hand XD

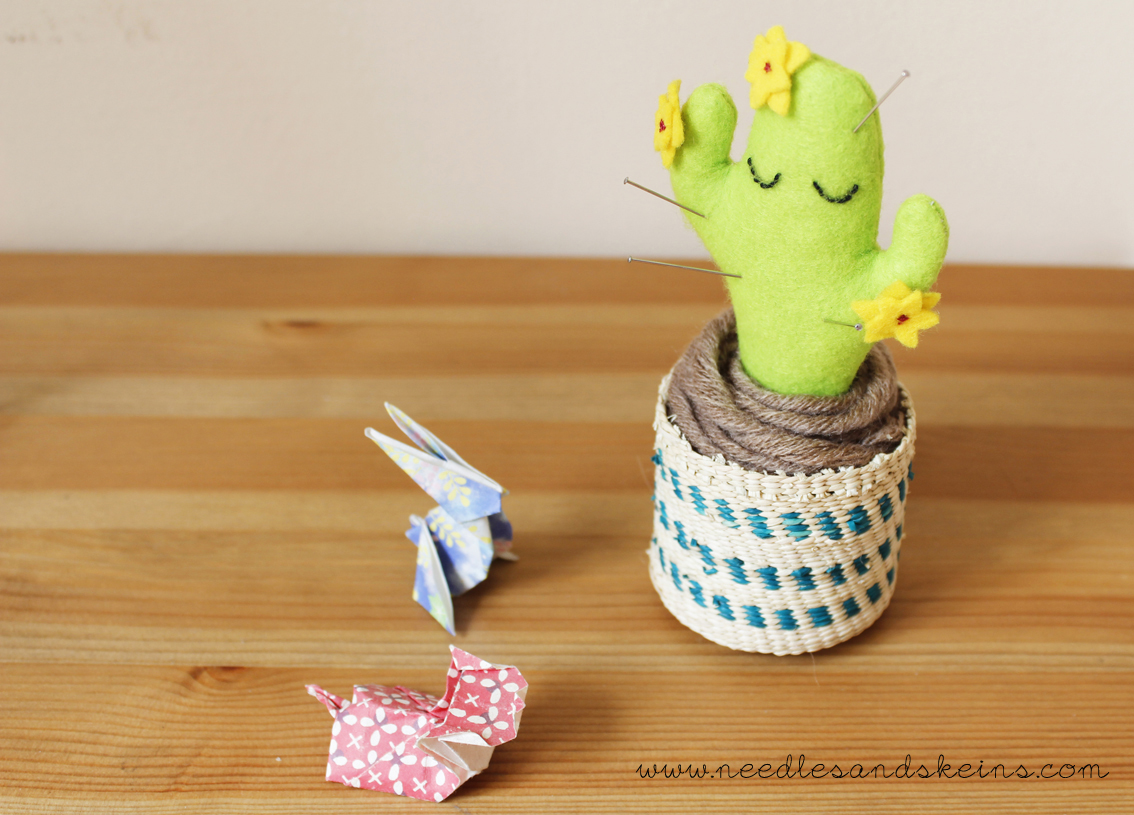
Ma non preoccupatevi, questo progetto semplice e veloce vi aiuterà a non avere più uno spillo fuori posto…cominciamo!
Don’t worry, this simple and fast project will help you never miss any pins…let’s start!
MATERIALI
- feltro verde e giallo
- un vasetto o un cestino
- cartamodello (vedere qui in basso)
- macchina da cucire
- lana marrone
- filo bianco e rosso da cucito
- filo nero da ricamo
- ago da cucito
- ago da ricamo
- imbottitura
- forbici
- gesso da sarto
NOTE SUL CARTAMODELLO
- Scaricate qui il cartamodello in pdf.
- Il cartamodello del cactus comprende i margini di cucitura (5mm)
PROCEDIMENTO
RITAGLIA I VARI PEZZI
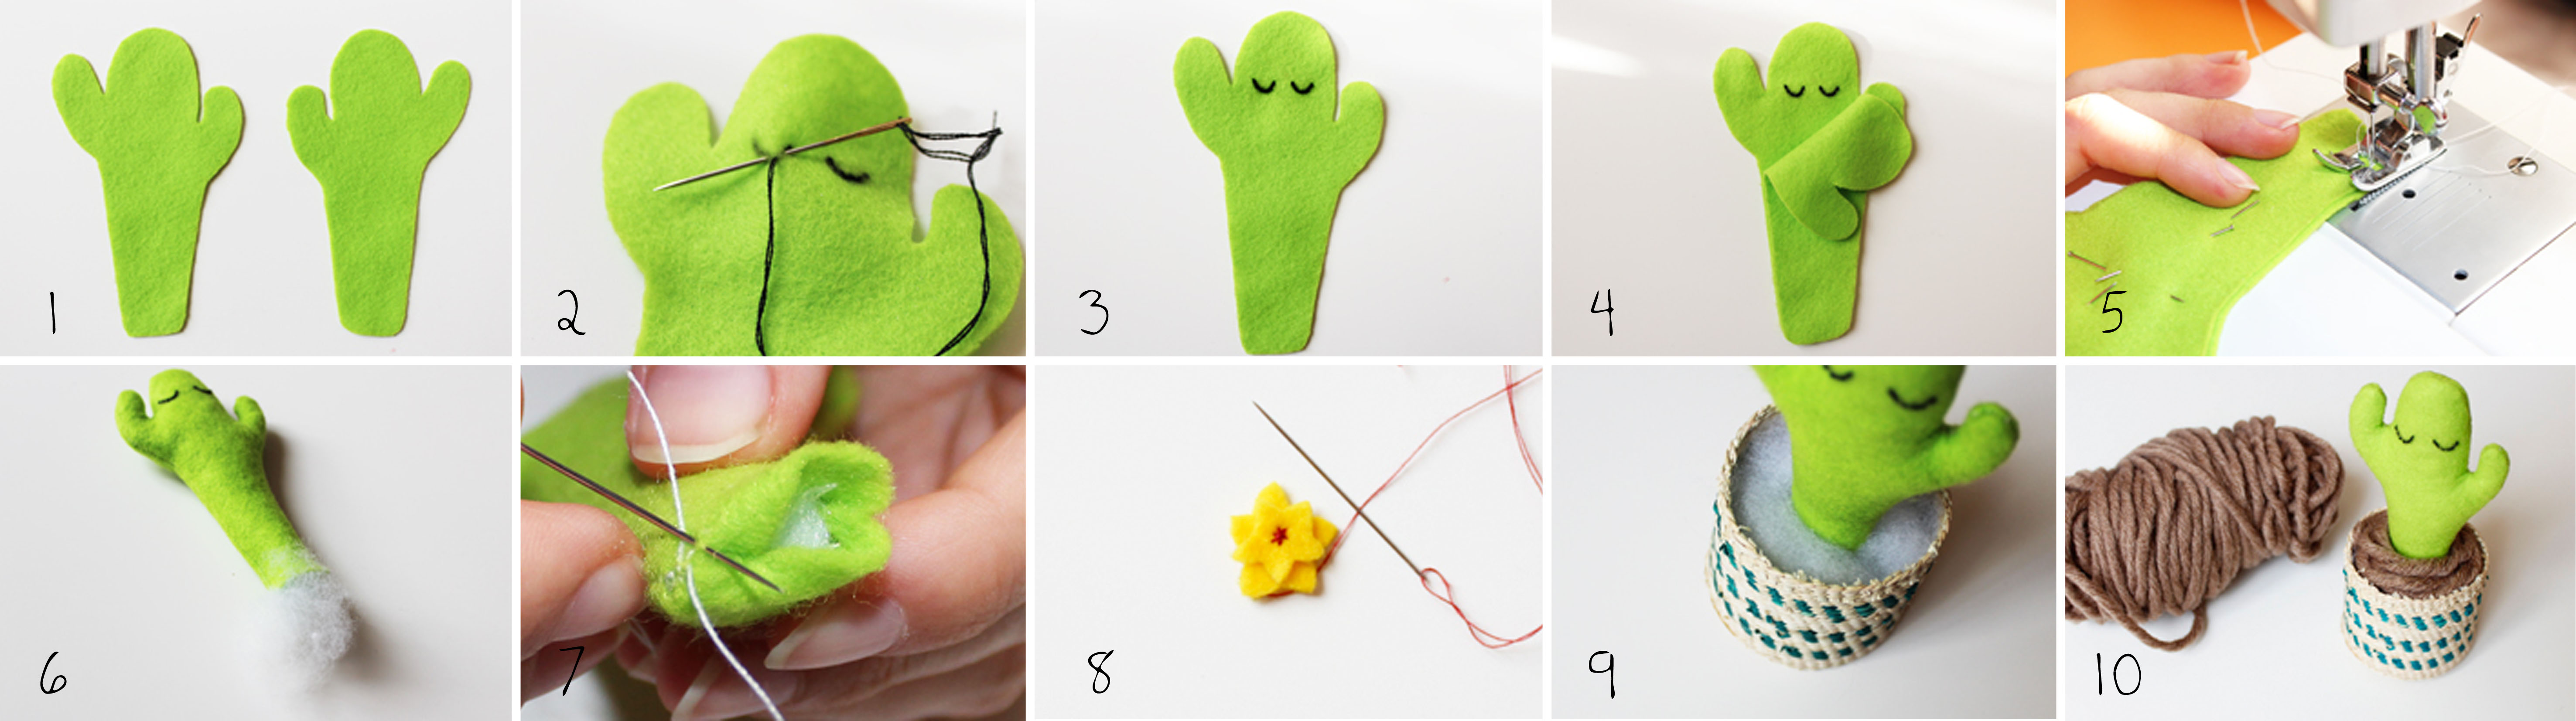
Comincia a ritagliare le varie parti del cartamodello. Assicurale sulla stoffa con degli spilli e disegna i contorni con il gesso da sarto, poi ritaglia il tutto (1) . Assicurati di avere i seguenti pezzi:
- due pannelli laterali del cactus (per il secondo ribalta il cartamodello, in modo che combacino)
- tre fiori gialli grandi
- tre fiori gialli piccoli
RICAMA GLI OCCHI
Usa il filo da ricamo nero per ricamare gli occhi, utilizzando il punto indietro (2) . In alternativa possono essere disegnati, oppure si possono usare delle perline.
COSTRUISCI IL CACTUS
Sistema il pannello con gli occhi con il dritto rivolto verso l’alto (3) , poi adagia sopra l’altro pannello, facendoli combaciare e fermandoli con degli spilli (4) .
Cucili insieme utilizzando la macchina, lasciando un margine di 5 mm. Comincia dal basso sul lato destro e cuci tutto intorno, lasciando però aperta la base (5) .
Con cautela spingi la stoffa attraverso l’apertura e rivolta il cactus. Riempilo con l’imbottitura, assicurandoti di riempire anche gli angoli: usa una matita o una bacchetta per aiutarti a spingere l’imbottitura (6) . Chiudi l’apertura con il filo bianco (7) .
ATTACCA I FIORI
Cuci insieme un fiore grande ed uno piccolo, formando un piccolo asterisco al centro (8) . Attacca poi il fiore al cactus, nel punto che preferisci. Ripeti il procedimento per gli altri due fiori.
SISTEMA IL VASO
Sistema il cactus nel vasetto e usa l’imbottitura per fermarlo al centro e fare in modo che resti ben dritto (9) . Imbottisci bene fino ai tre quarti del vasetto, poi usa della lana marrone per la terra (10) .
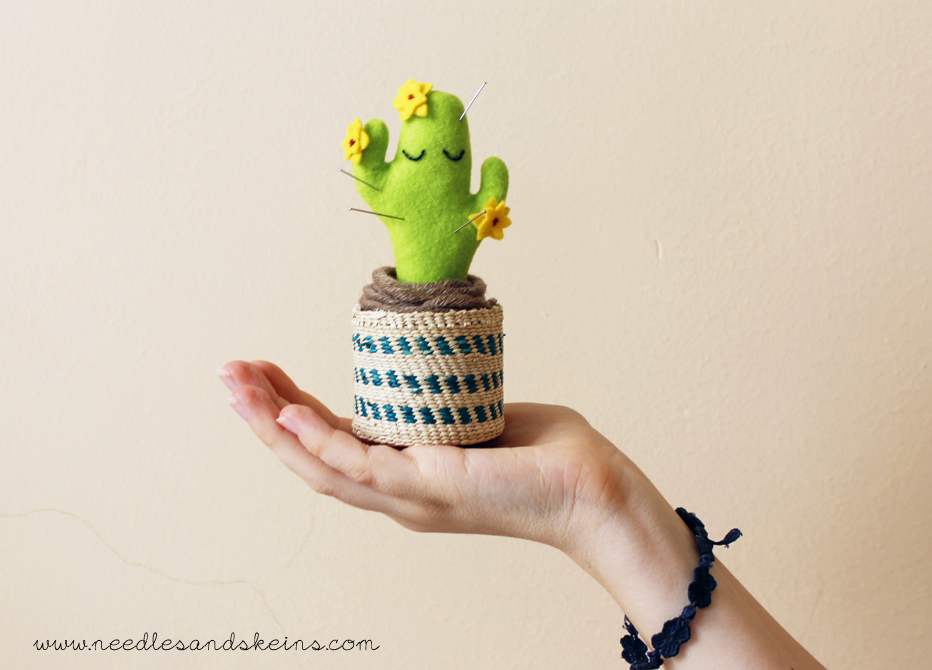
Finito!!! Non è troppo tenero? L’aiutante perfetto! 😀

MATERIALS
- green and yellow felt
- a small pot or basket
- template (see the notes below)
- sewing machine
- brown yarn
- white and red thread
- black stranded cotton
- sewing needle
- embroidery needle
- toy stuffing
- scissors
- tailor chalk
TEMPLATE NOTES
- Download here the pdf template.
- Cactus template includes seam allowances (5mm)
TUTORIAL
CUTTING OUT
Start cutting out the template pieces. Pin them to your felt, draw around the pieces using a tailor chalk, then cut them out (1) . Make sure you have the following pieces:
- 2 cactus sides in green (flip one over so it faces the opposite direction)
- 3 big flowers in yellow
- 3 little flowers in yellow
EMBROIDER THE EYES
Use the black stranded cotton to embroider the eyes, using a back stitch (2) . Alternatively you can draw them or use some beads.
CONSTRUCT THE CACTUS
Place the body piece with the eyes right side up (3) , then place the other body shape on top, right side down. (4) . Pin all the pieces together.
Sew around the body, 5 mm away from the edge. Start at the side of the base and work your way around, leaving a gap at the base (5) .
Carefully push the fabric through the gap to turn it out. Fill the body with toy stuffing. Use a tool like a chopstick to help you get the stuffing all the way into the corners (6) . At the gap, fold the edges of the fabric inside and sew together (7) .
MAKE AND ATTACH THE FLOWERS
Sew together a little and a big flower, stitching a little star in the center (8) . First decide where to attach the flower, then sew it onto the cactus body. Repeat the process for the other two flowers.
FILL THE POT
Place the cactus in the pot and use toy stuffing to stop it in the middle and make sure that it remains well straight (9) . Stuff the pot for three quarters, then use the brown yarn to make the soil (10) .
That’s it!!! It’s so cute, isn’t it? The perfect mate! 😀
Maria Elisa, questo progetto è D E L I Z I O S O ! E le foto e la grafica sono bellissime.
Grazie!!! Il tuo blog è uno dei miei preferiti quindi i tuoi complimenti mi rendono felicissima! 😀